Tuesday, February 1, 2011

Rutabaga Apple Au Gratin

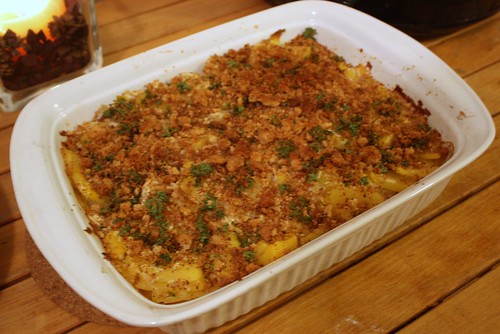
For Robbie Burns Dinner last week, I made this Rutabaga Apple Au Gratin from Canadian Living. The sweet apples perfectly balance the strong rutabaga to create a delicious golden side dish. Mashed rutabaga is traditionally served alongside mashed potatoes at Robbie Burns Dinner and called "neeps and tatties". Seeing as I wasn't serving the traditional haggis as the main dish, I figured that I could be a little creative with how I made the rutabaga.

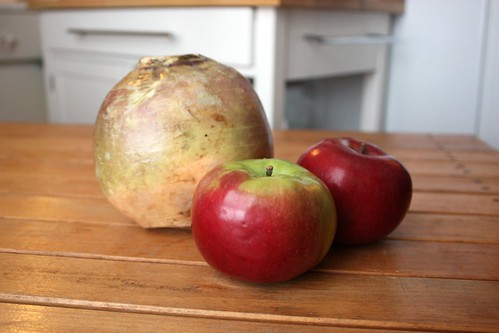
Rutabaga is also known as swede (from Swedish turnip) or yellow turnip, and is a root vegetable that is a cross between a cabbage and a turnip. The big root ball can be used in many ways, including baked, boil, mashed or added to soups and salads. Once you try this recipe, I'm sure that you'll be looking for more ways to add rutabaga to your meals.

What you'll need:
1 Rutabaga
1 tbsp Cornstarch
1/2 cup Water
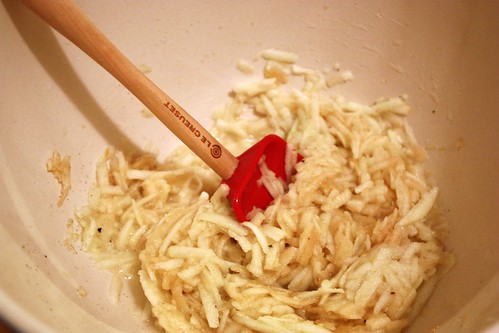
2 Apples, peeled and grated
1/2 tsp Salt
1 pinch Pepper
1 pinch Dried Thyme or Savory
1/2 cup coarse Fresh Bread Crumbs
1 tbsp Butter, melted
1 tbsp chopped Fresh Parsley

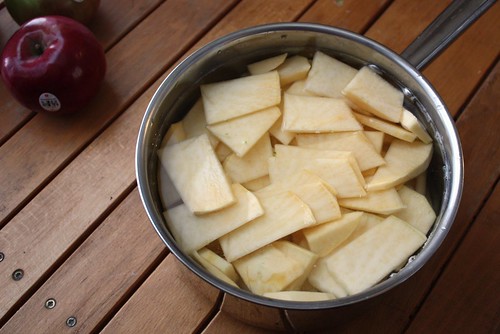
Peel and cut rutabaga in half lengthwise. Cut each half lengthwise into quarters. Thinly slice crosswise. In saucepan of boiling salted water, cover and cook rutabaga until almost tender, about 10 minutes. Drain and set aside.

In large bowl, whisk cornstarch with water until smooth.

Add apples, salt, pepper and thyme. Toss to coat.


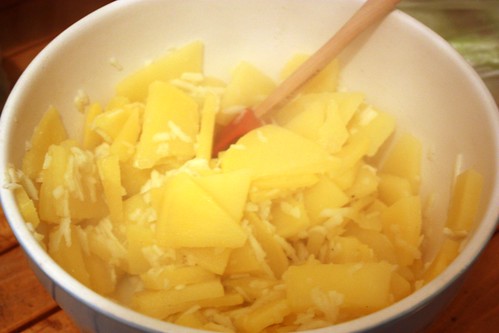
Add rutabaga and toss gently.

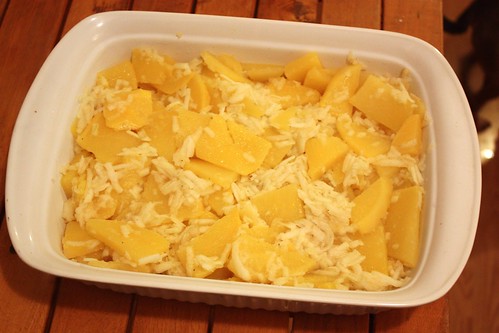
 Spread in 8-inch (2 L) square glass baking dish. Cover and bake in 350°F oven for 20 minutes.

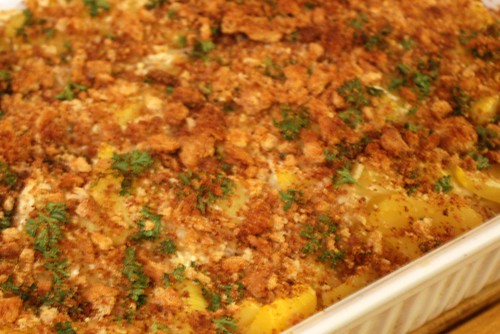
In bowl, toss together bread crumbs, butter and parsley. Sprinkle over rutabaga mixture. Return to oven and bake uncovered until tender, about 20 minutes. Broil until topping is golden, about 3-4 minutes.

This dish was a big hit with the dinner guests and it made a large amount for 6 people, with plenty of leftovers (which I was happy to eat later...straight from the bowl in the fridge. Yes, it even tastes good cold.) When I went to figure out the nutritional information for this dish, it turns out that it is a pretty healthy side dish too! I love it when I find something that not only tastes great, but also is good for you!

Makes 6 large servings

Printable Version
Nutritional Information

Thursday, January 6, 2011

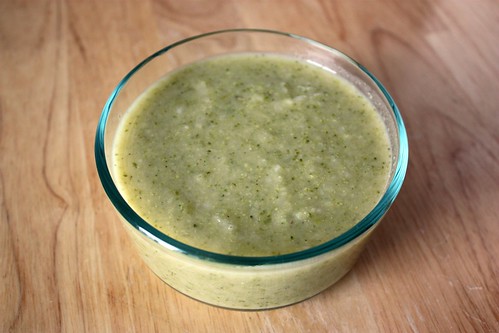
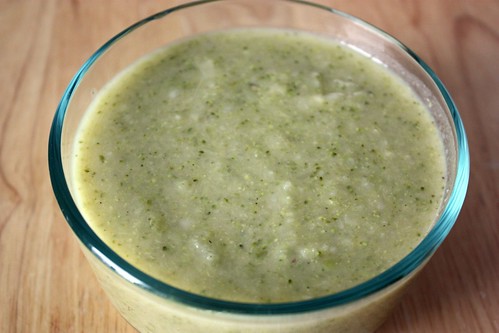
Low Fat Broccoli Soup

Now that I'm back to work after my holiday, and getting back into my routine, I wanted to start the new year off on the right foot with a delicious, healthy and satisfying soup to pack for my lunches. I love making homemade soups and taking them to the office, along with a small salad and some whole wheat bread. Only 40 minutes of work on a Sunday evening makes for a week's worth of healthy lunches.

This broccoli soup is packed with healthy veggies, and has the same smooth taste of creamier broccoli soups, but without all the unwanted calories. The fact that it is so easy to make only makes it better!
What you'll need:
2 tsp Olive Oil
1 medium Onion, finely chopped
2 stalks of Celery, finely chopped
6 cups of fresh Broccoli, washed and cut into pieces
1 large Potato, peeled and cubed
2 cups of Skim Milk
1 litre of Vegetable Broth

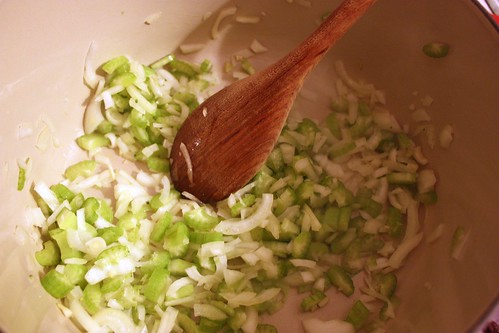
Heat oil on medium heat in a Dutch oven or large pot. Saute onion and celery for 3 minutes until softened.

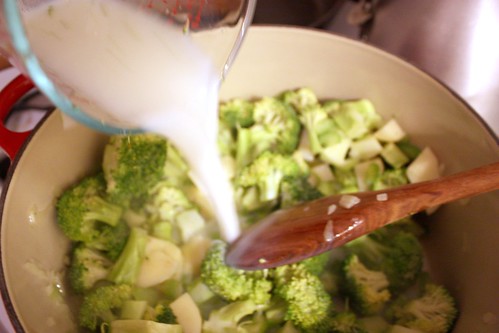
Add broccoli and potato to the pot and stir. Add milk to pot.


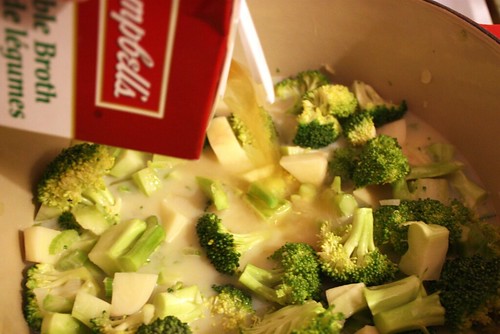
Pour in container of broth to pot. Bring to a boil, then reduce heat, cover and simmer for 25-30 minutes until vegetables are tender when pricked with a fork.

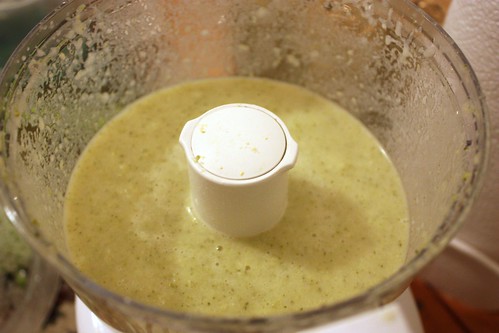
Puree soup in batches in a food processor or blender until smooth. Return soup to pot and keep on low until ready to serve.

I had to try this the first night I made it and had it for dinner along with a whole wheat roll. Delicious and satisying, and a nice light change from the rich food I enjoyed during the holidays.

Easy yummy soup! Delish :)

Makes 6 servings.

Printable Version

Wednesday, November 24, 2010

Savoury Stuffed Acorn Squash

We Canadians may have had our Thanksgiving back in October, but that doesn't mean that we aren't up to having it again alongside our American neighbours in November! For years my father worked in the US during the week, which meant that he got the American Thanksgiving off and we would celebrate it again. Who can say no to another big turkey meal? Not me :)


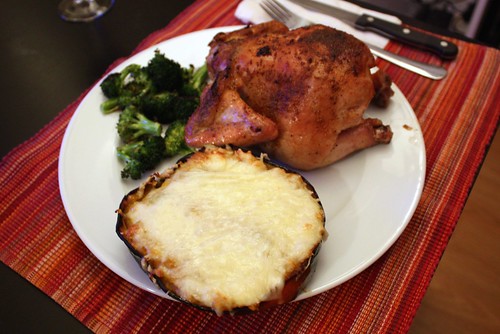
Now that I'm in my little apartment in the city, I don't exactly have the space to have a big Thanksgiving dinner, but the boyfriend and I decided to have a mini one the other night and make cornish hens. It seemed like the perfect time to test out this Savoury Stuffed Acorn Squash recipe that I found in the Fall addition of my beloved Food & Drink magazine. It remined me alot of stuffing, but much creamier and smooth with the squash added in.

And of course the cheese. How can I forget the awesome cheese. This would make for a great hearty vegetarian option at Thanksgiving. The recipe was originally for 12, but I cut it down to 2 servings. The 12 serving version is avaliable for printing at the bottom of the recipe as well.

What you'll need:
1 Acorn Squash
2 tsp Olive Oil
1 tsp Unsalted Butter
1 Shallot, finely chopped
1/2 a McIntosh Apple, chopped
2/3 of a stalk of Celery, chopped
1/2 tsp Dried Sage, crumbled
8 tsp Breadcrumbs
Salt and Pepper to Taste
1/2 cup Mozzarella Cheese, shredded

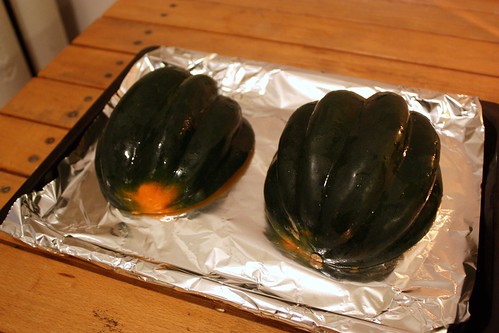
Preheat oven to 375°F. Line a cookie sheet with foil

I used an acorn squash that I got at the very last Farmer's Market of the season. I'm going to miss picking up fresh produce every week.

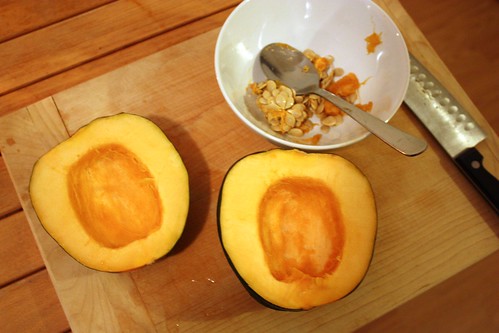
Cut squash in half lengthwise (stem to tip) and scoop out seeds.

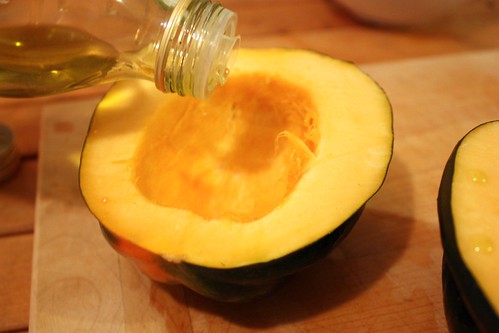
Drizzle the inside of each half with a tsp of olive oil.

Put squash halves cut side down on the cookie sheet. Roast 40-50 minutes or until soft.

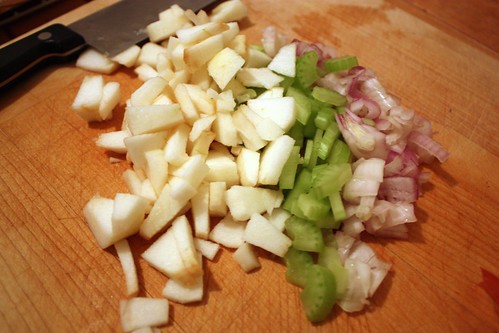
Meanwhile, chop up apples, celery and shallots.

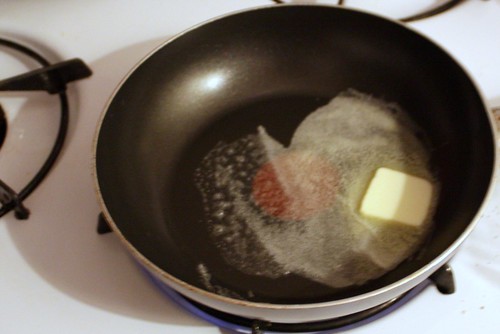
In a small frying plan, melt butter over medium heat.

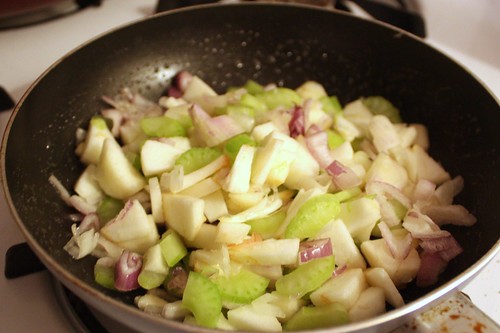
Saute shallots, apple, celery and sage until apple and celery are soft. Remove from heat.

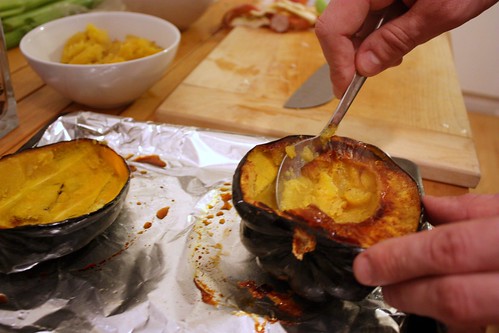
Remove cooked squash from oven, scoop out some of the cooked innards while leaving the shells intact.

Add sauteed vegetables and breadcrumbs into the squash, add salt and pepper to adjust seasonings.

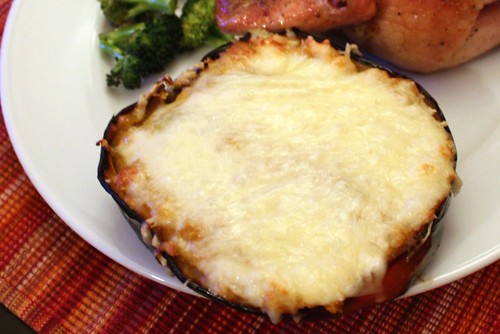
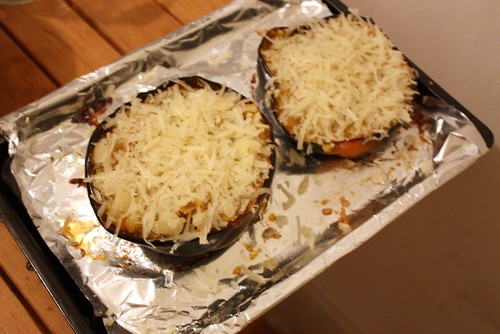
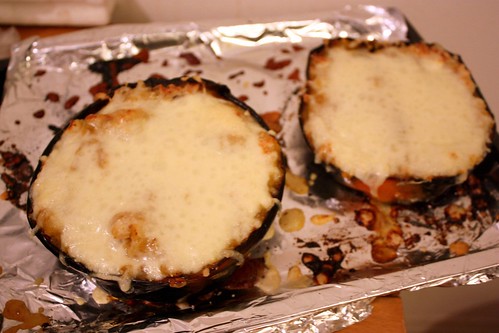
Restuff squash halves and top with shredded cheese. Put back in oven and broil until cheese browns.

Cheesy melty goodness!

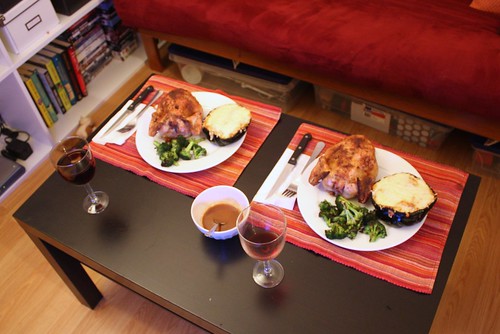
Serve it immediately as a side dish with your turkey. We had it with roasted cornish hens and Roasted Brocolli. You can also serve this as a vegetarian option or as a hearty appetizer. We were all set up on the coffee table to have a move night!

You can also make these ahead. Rewarm squash, top with cheese and broil before serving. 

Serves 2 (Recipe for 12 servings below)

Adapted from LCBO Food & Drink, Fall 2010
Printable Version (for 2)
Printable Version (for 12)
Friday, November 19, 2010

Spinach and Cheese Puff

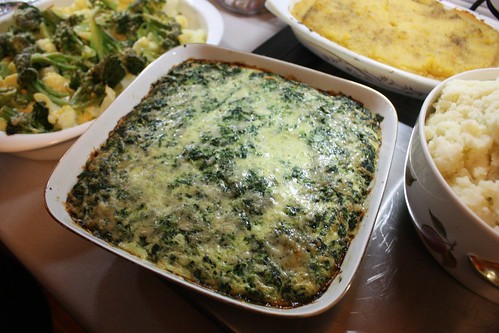
For the past five years, my sister has been a vegetarian, which means that whenever we have a big family dinner (Thanksgiving, Christmas, Easter, etc) we try to come up with a new vegetarian dish to try out. This year at Thanksgiving we turned to none other than Martha Stewart for this Spinach and Cheese Puff recipe. Not only was it filling, but it was a good source of iron and protein for non-meat eaters. It was also easy to make ahead and pop in the oven along with the other side dishes.

What you'll need:
Butter, to grease baking dish
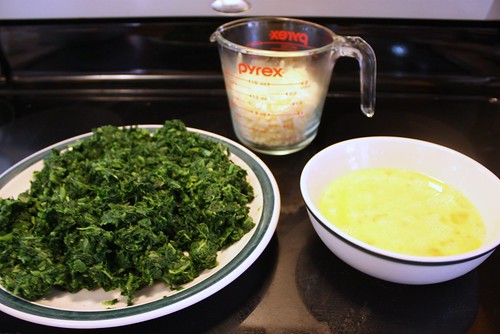
3 packages (10 oz each) Frozen Chopped Spinach, thawed and squeezed dry
1 1/2 cups Half-and-Half
3 large Eggs, lightly beaten
1 1/2 cups coarsely grated Gruyere Cheese (about 6 oz)
Salt and Pepper
1/4 tsp Ground Nutmeg

Preheat oven to 350°F. Butter a shallow 1-quart baking dish.

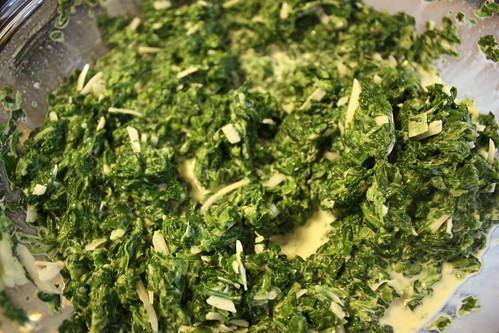
Make sure to squeeze as much moisture out of the spinach as possible!

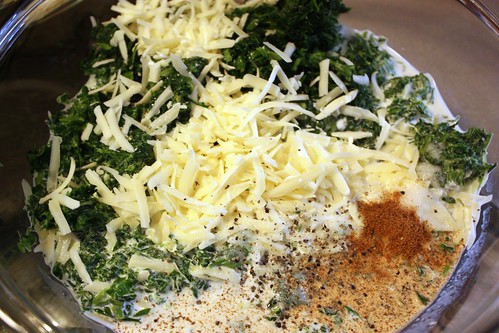
In a large bowl, combine spinach, half-and-half, eggs, 1 cup Gruyere, 2 teaspoons salt, 1/8 teaspoon pepper, and nutmeg.

 Stir to combine. 
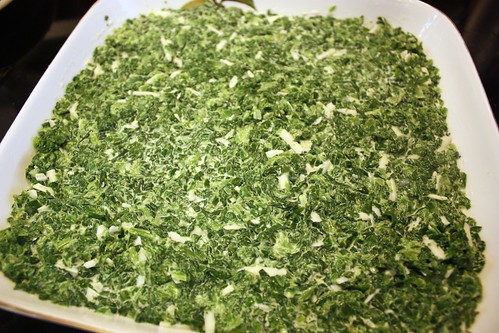
Spread evenly in prepared baking dish.
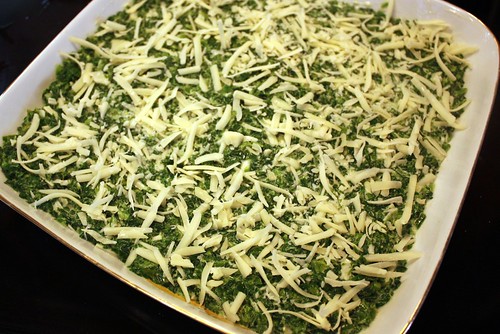
 Top with remaining 1/2 cup Gruyere.
Bake until set and top is golden brown, 30-35 minutes.

This was a great make ahead dish. I did it in the afternoon before company arrived, set it in the fridge and then popped it in the oven for the full baking time, along with the other side dishes. If you want to make it even farther in advance, bake up to 1 day ahead and refrigerate. Bring to room temperature, then cover with foil, and bake at 350°F for 20 minutes. Uncover and bake 20 minutes more.

Serves 8

Printable Version
Nutritional Information

From Martha Stewart: http://www.marthastewart.com/recipe/spinach-and-cheese-puff

Thursday, November 4, 2010

FFC Recipe: Roasted Eggplant Marinara Sauce

As part of the Fall Fitness Challenge, I have been trying to eat healthier meals, incoporating more vegetables and less refined-white carbs. One of my favorite recipes that I've made during this challenge is this Roasted Eggplant Marinara Sauce, using up all the produce I'd picked up at the local farmer's market. In lieu of regular white pasta, I decided to use spaghetti squash, although I would have also gone with a small portion of a nice whole wheat pasta too. For a little extra protein, I served it up with a nice chicken breast cooked with a little olive oil in a pan while the sauce was finishing up. This made plenty of leftovers for me to take for lunches to the office. It was a great very-filling meal that I'll be sure to make again.

What you'll need:
1 large Eggplant
Kosher Salt
4 cloves Garlic, minced
3 tbsp Olive Oil
1/4 tsp Salt
1/4 tsp Black Pepper
1 large Onion
1 Green Pepper (I used a bit of red pepper too because I had it in the fridge)
1 28oz can of Tomatoes
A handful of Fresh Basil Leaves
2 tsp Dried Oregano
1/2 tsp Hot Chili Flakes

Preheat oven to 400°F.

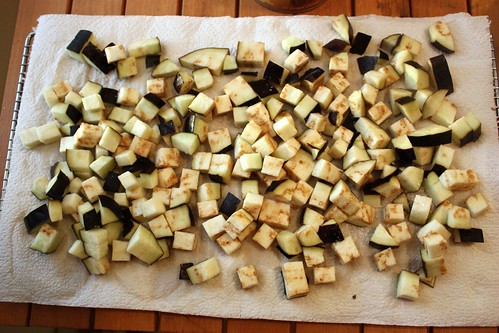
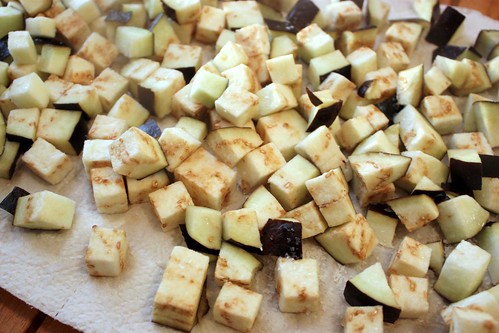
Slice and cube eggplant. Lay out on paper towels and sprinkle with kosher salt.

Leave for 30 minutes to let the bitter juices of the eggplant come out. Rinse and pat dry.

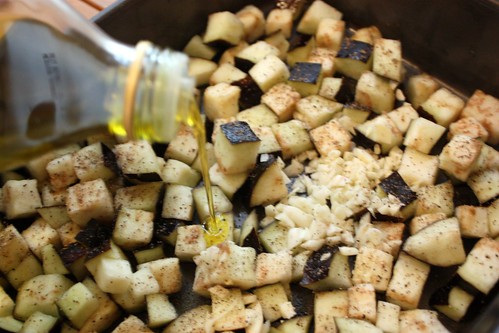
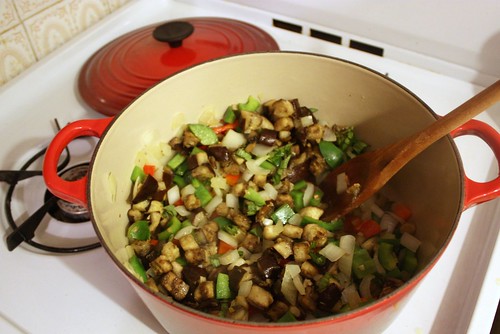
Toss eggplant, garlic, salt, pepper and 1 tbsp of olive oil into a large baking pan. Bake for 30-35 minutes until eggplant is browned, stirring once.

It is so delicious and golden right now that I usually eat a few pieces out of the pan. De-lish!

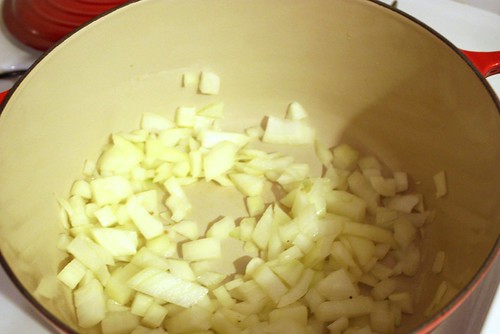
Pour remaining 2 tbsp of olive oil into a large pot over medium heat. When hot, add onion, stirring often until onion is almost soft.

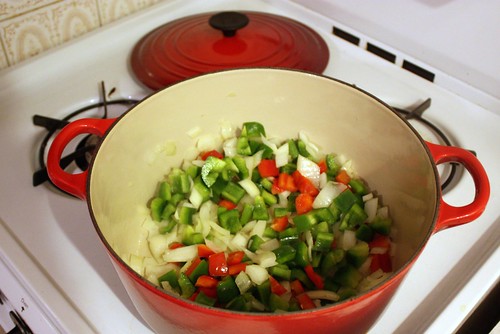
Add in peppers and continue to cook for a few more minutes.

Toss in roasted eggplant.

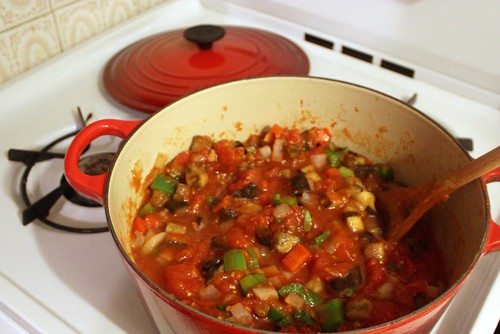
Add tomatoes, basil, oregano and chili flakes. Cover and simmer, stirring occasionally, until the tomatoes have broken down and the sauce has thickened. After about 35-40 minutes, check consistency and adjust with salt and pepper to taste.

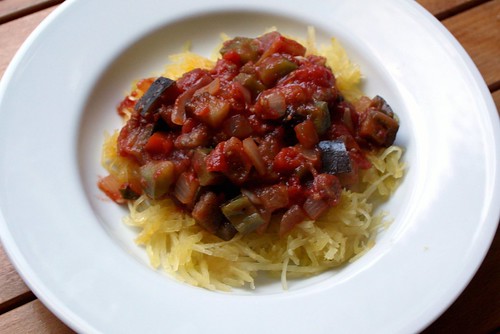
I served it on spaghetti squash, with a pan-fried chicken breast on the side.

Makes approx 6 servings.

Printable Version
Nutritional Information

Thursday, August 12, 2010

Grilled Zucchini

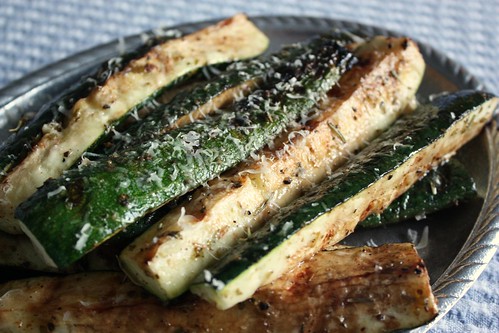
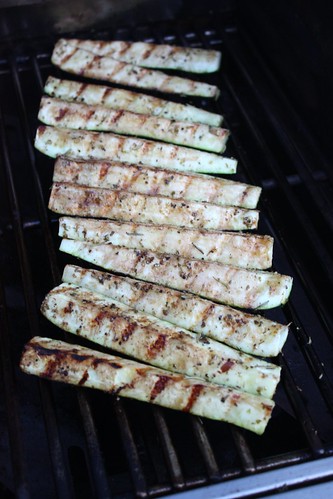
Two of the most enticing parts of summer are 1) Fresh Produce and 2) Grilling. Thankfully this recipe for simple Grilled Zucchini hits both marks. Its filling enough to serve to a vegetarian (hey sis!), and at the same time is great as a side to go along grilled chicken or a nice steak.
Yum yum zucchini!

What you'll need:
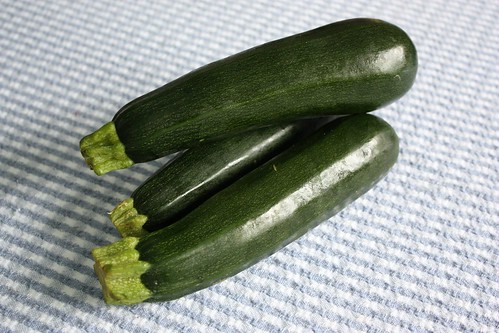
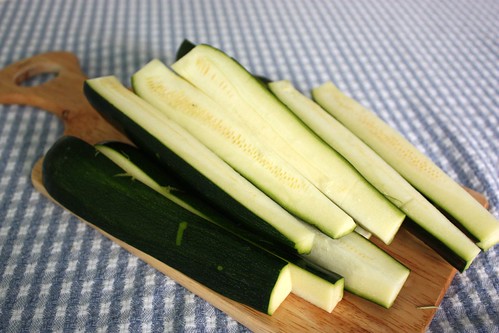
3 Zucchinis, quartered
1/2 tsp Garlic powder
2 tsp dried Oregano
1/4 tsp dried Rosemary
1 tsp Salt
2 tsp Black Pepper
3 tbsp Olive Oil
2 tbsp Balsamic Vinegar
Parmesan Cheese, grated

 Cut ends off zucchini and slice lengthwise into quarters.

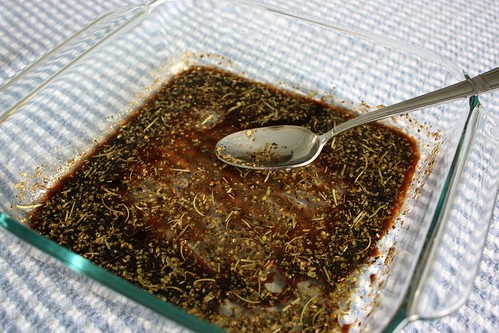
In a shallow glass containter, mix together everything but the zucchini and parmesan to make a marinade.

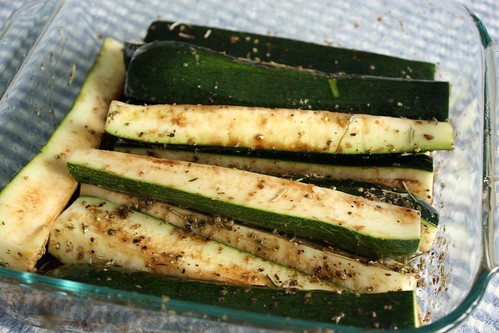
Place the zucchini pieces in marinade in the refrigerator for at least 1 hour.

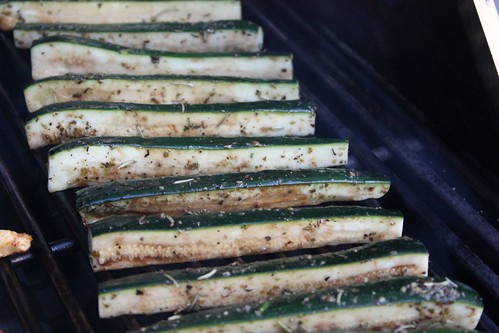
Grill on direct medium heat at a 45 degree angle for 2-3 minutes on each side.

Brush with extra marinade every time you flip.

Remove from the grill, and then get ready for the best part....

Grate parmesan cheese over top of the still hot zucchini. It will melt into a beautiful sight. So simple and delicious, and the perfect side for a nice summer meal.