Wednesday, June 23, 2010

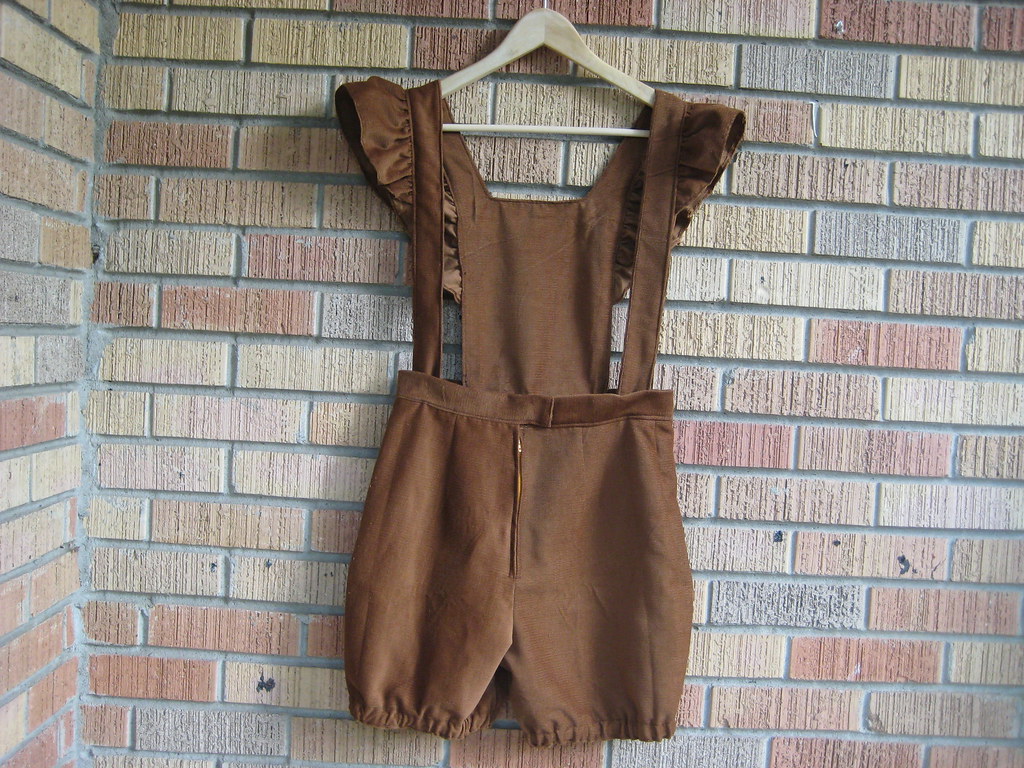
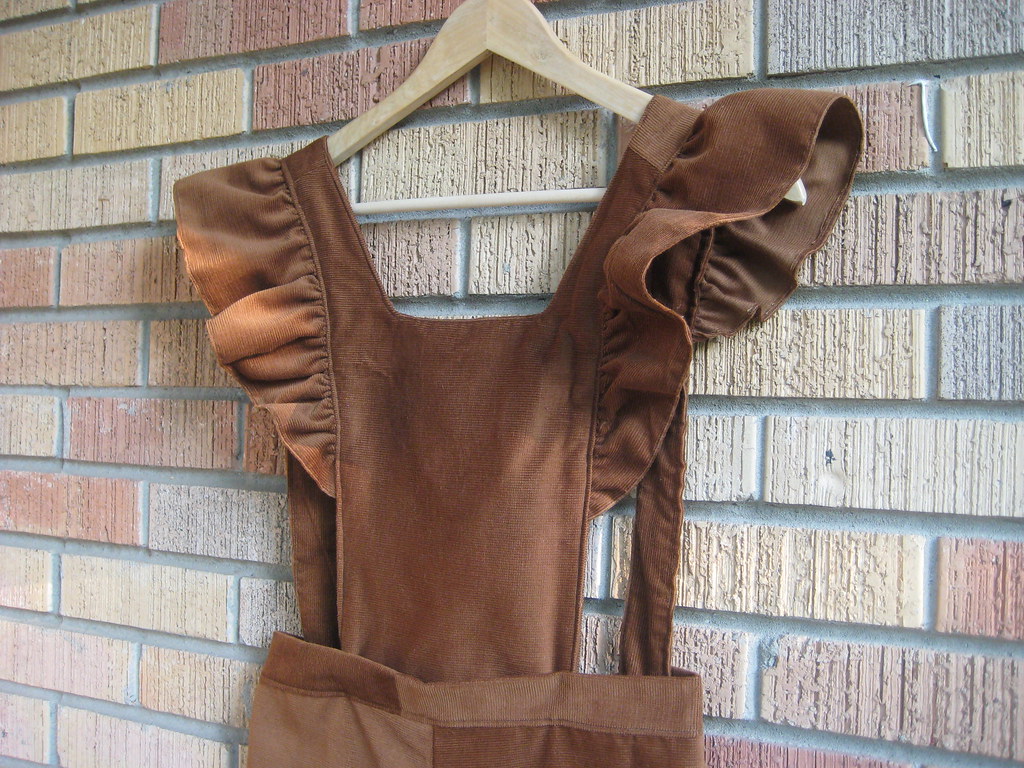
a belated sewing saturday.. finishing the brown corduroy overalls with ruffled bib and bloomers.

sewing saturday. handmade corduroy overalls with ruffles and bloomer shorts

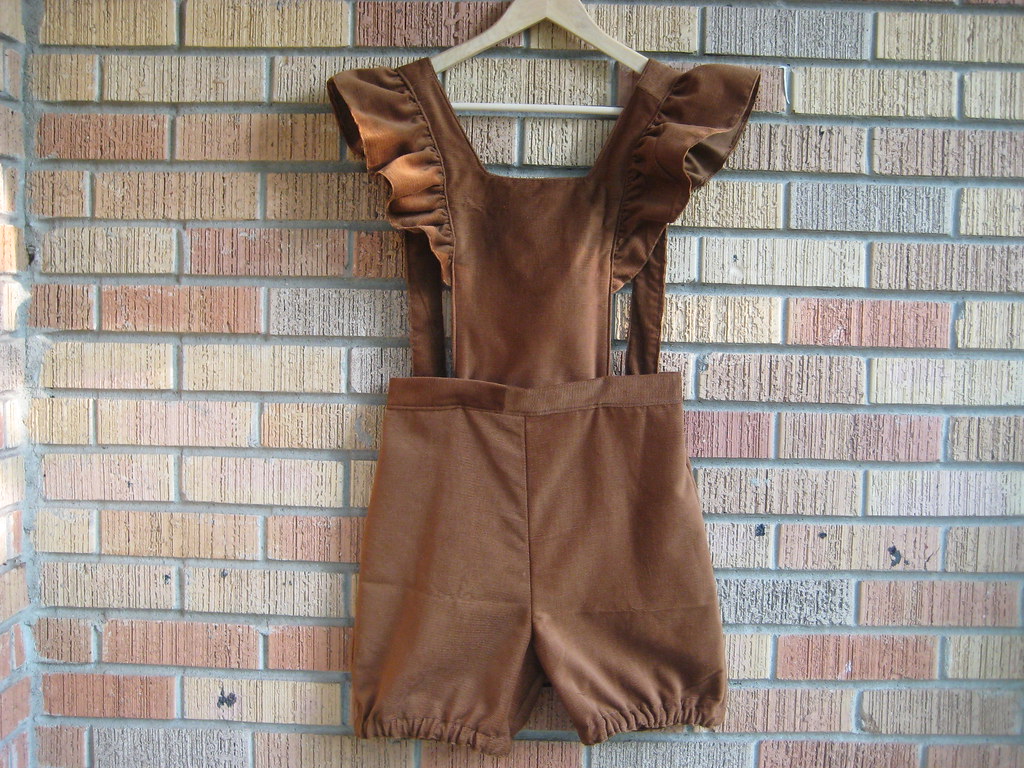
Sewing Saturday on Tuesday! Yeah! Well, today I finished up the corduroy onesie with detachable bib and suspenders.

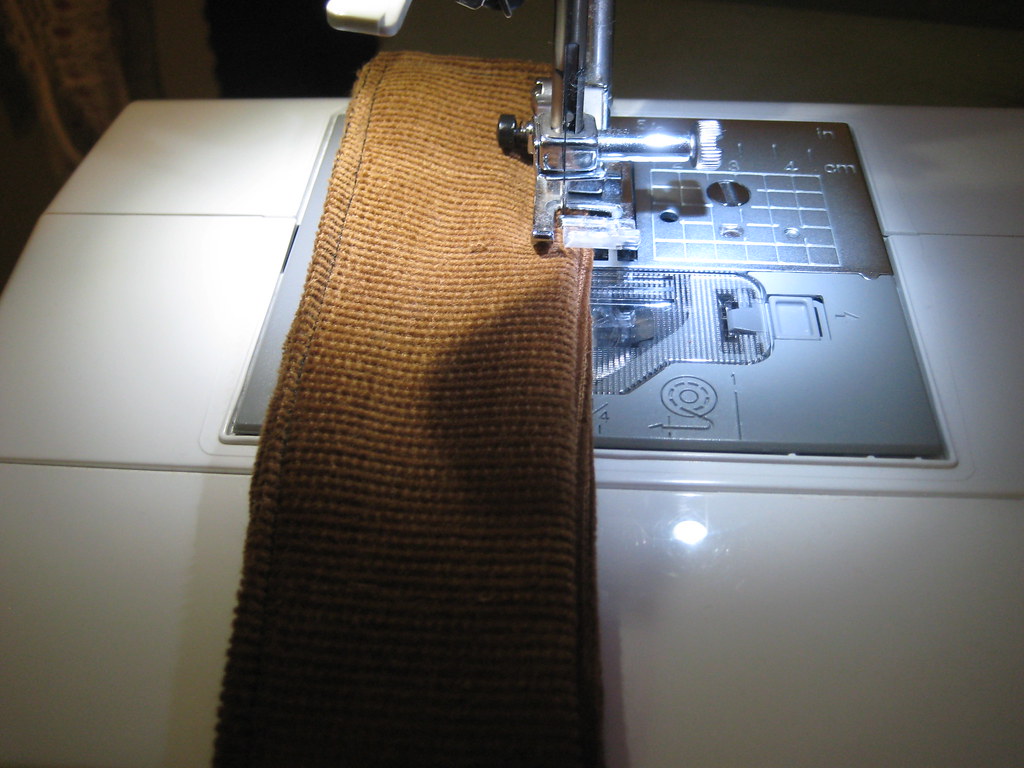
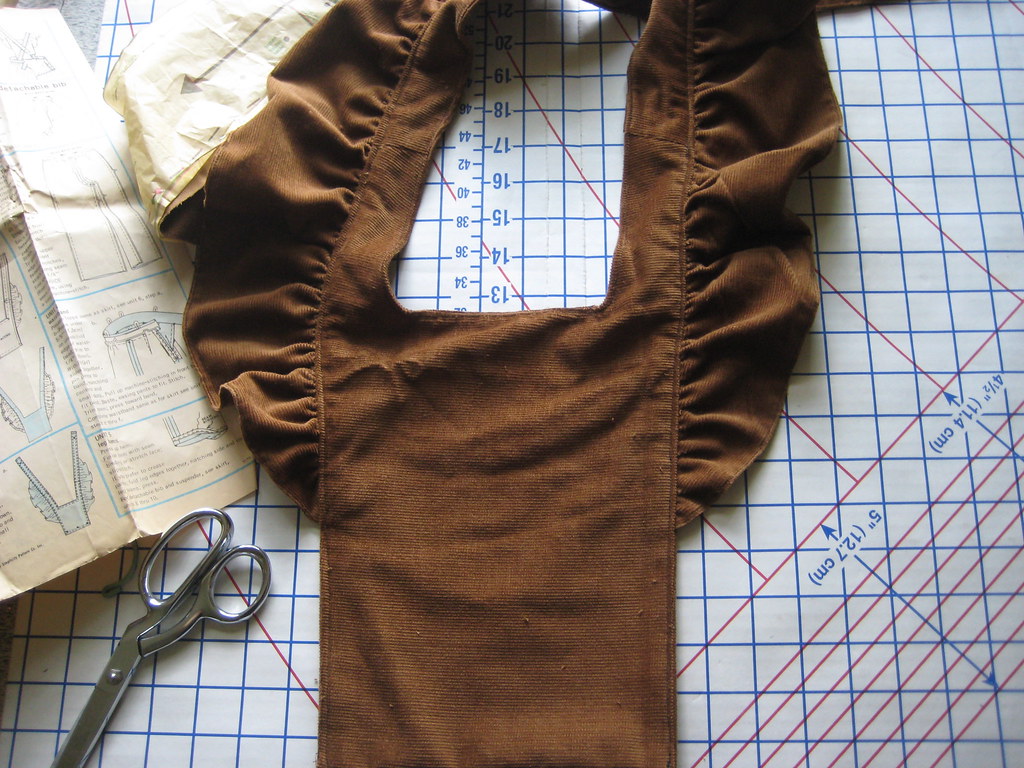
I began where I left off last week.. by topstitching along the ruffled bib, about 1/4 inch from the edges.
IMG_9779
IMG_0236

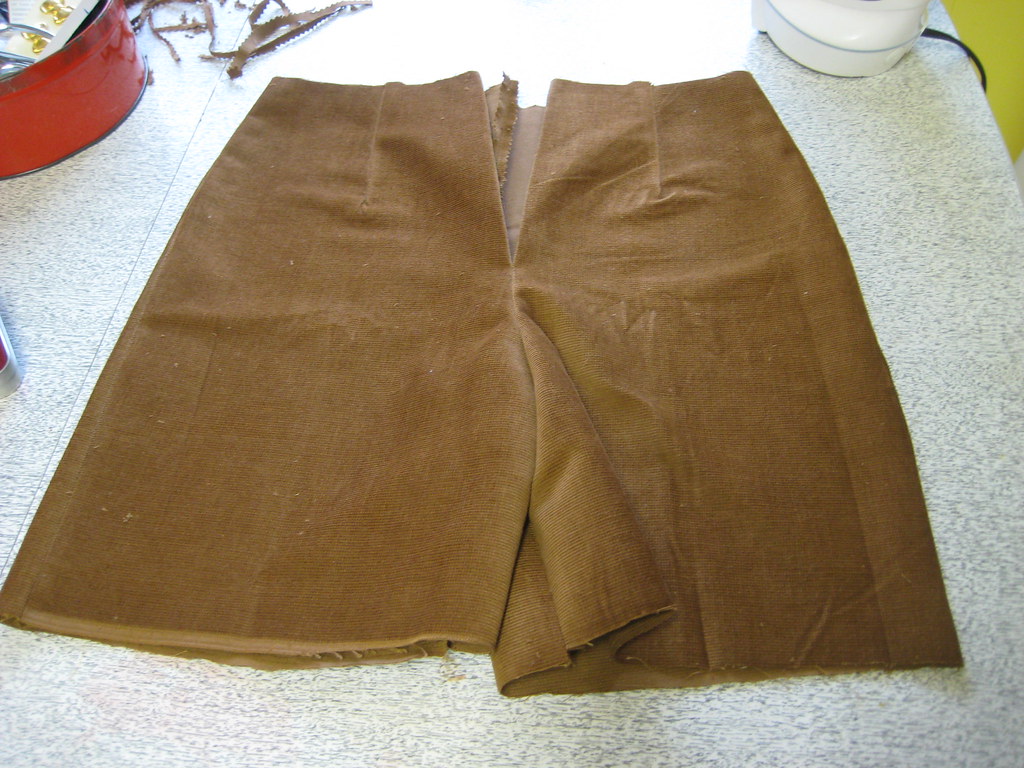
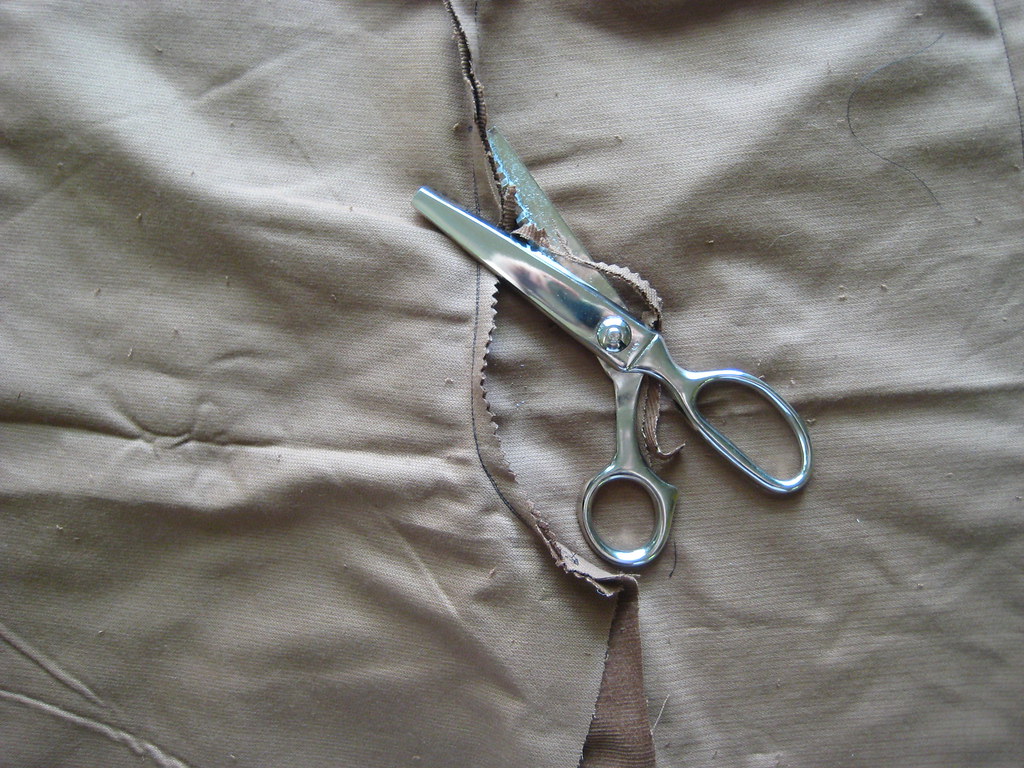
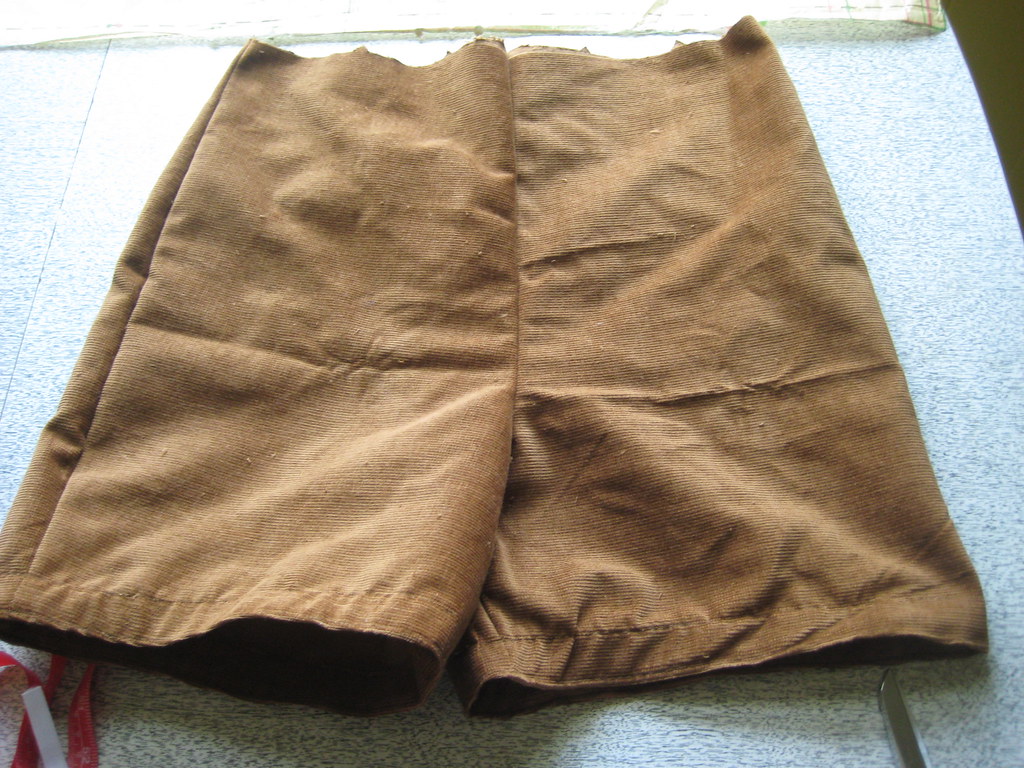
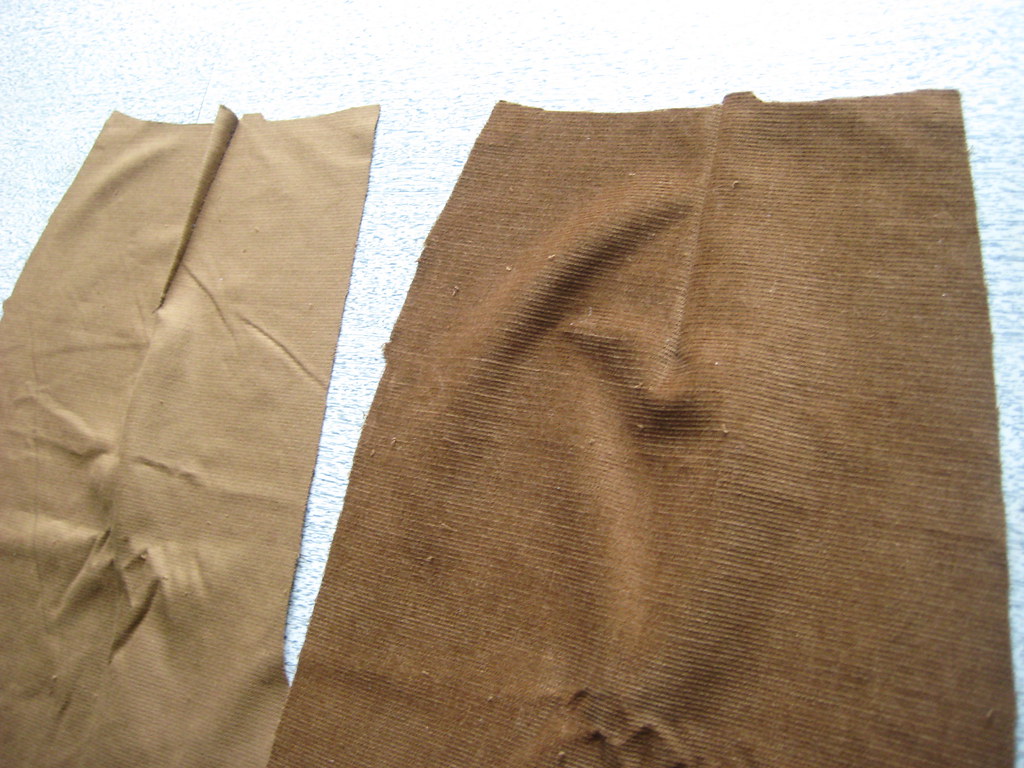
Once that step was finished, the bib was pretty much done. I then had to move onto constructing the shorts. I did the usual steps - sewing the front and back pieces together at the center seam (leaving room for a short zipper in the back), sewing the front to back pieces together at the side seams, then sewing the legs together at the crotch. I cut all of the inside seam excess with my pinking shears and pressed them flat.

I also sewed darts at the waistline in the back.
IMG_9520
IMG_9579
IMG_9550

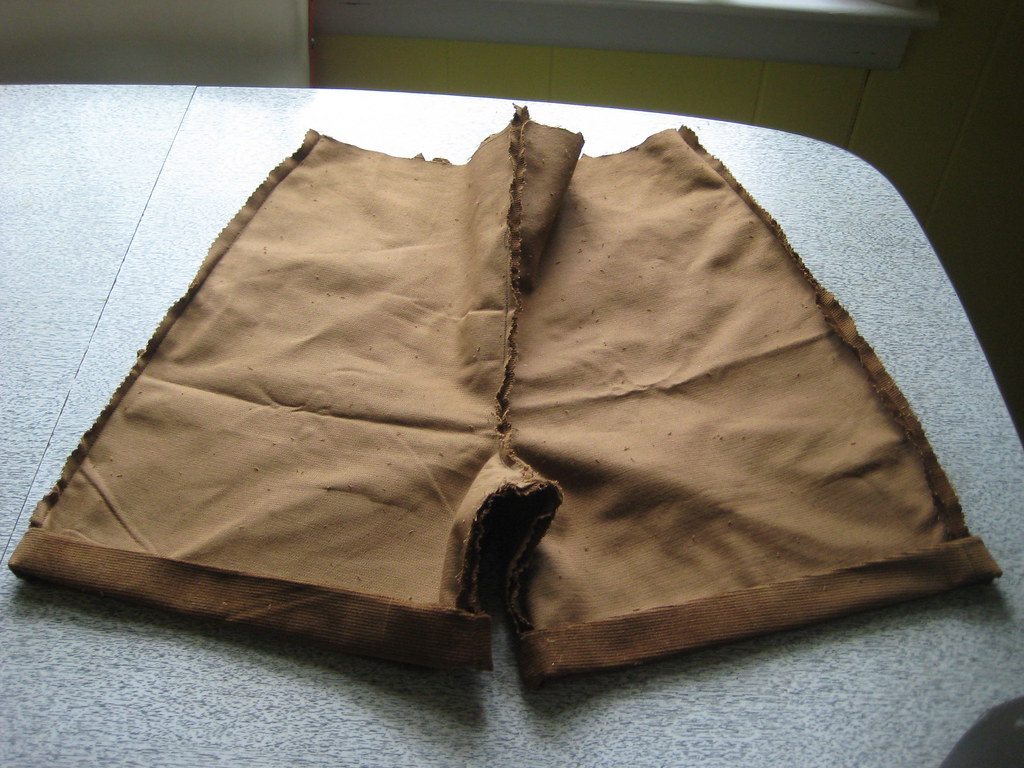
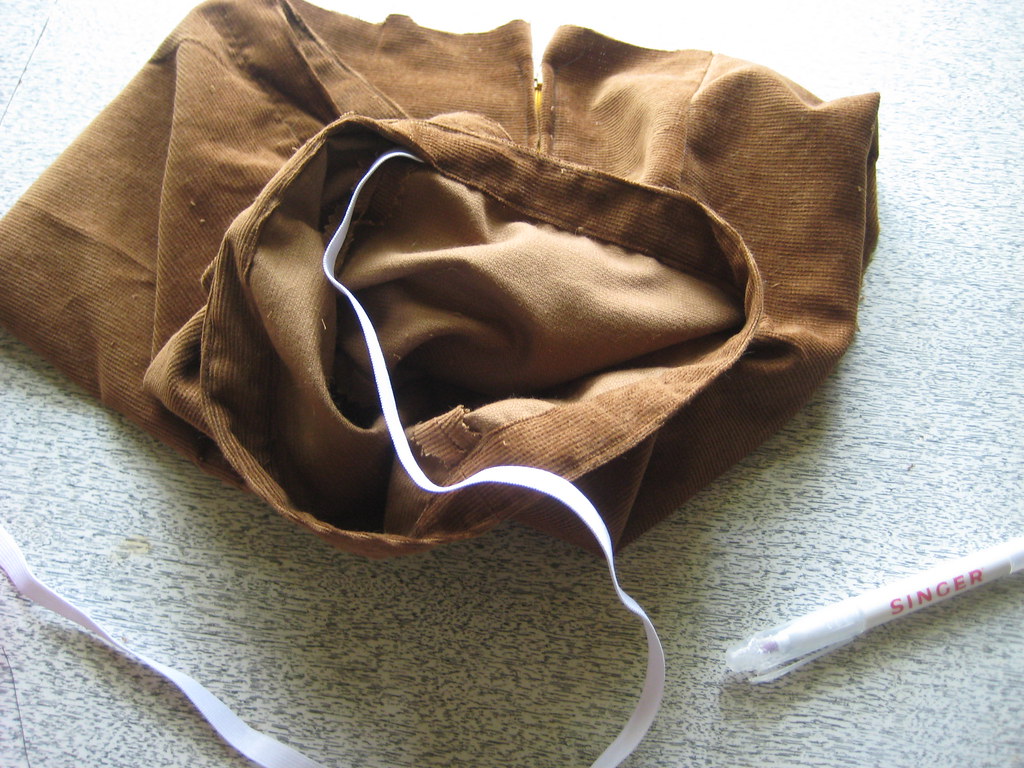
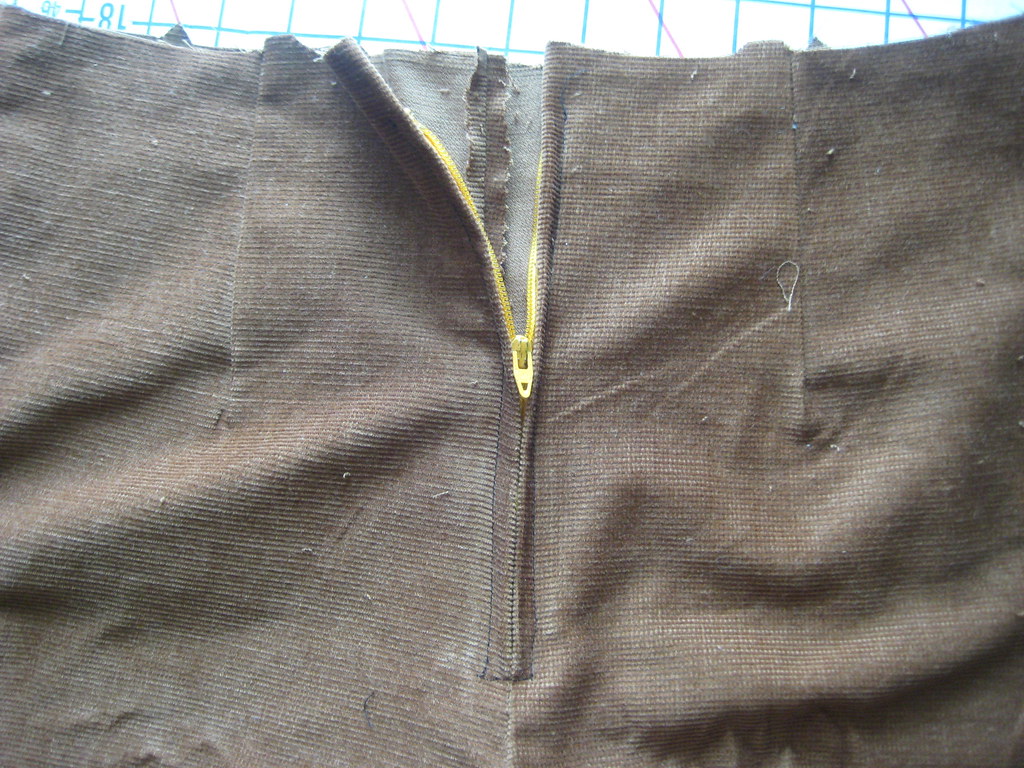
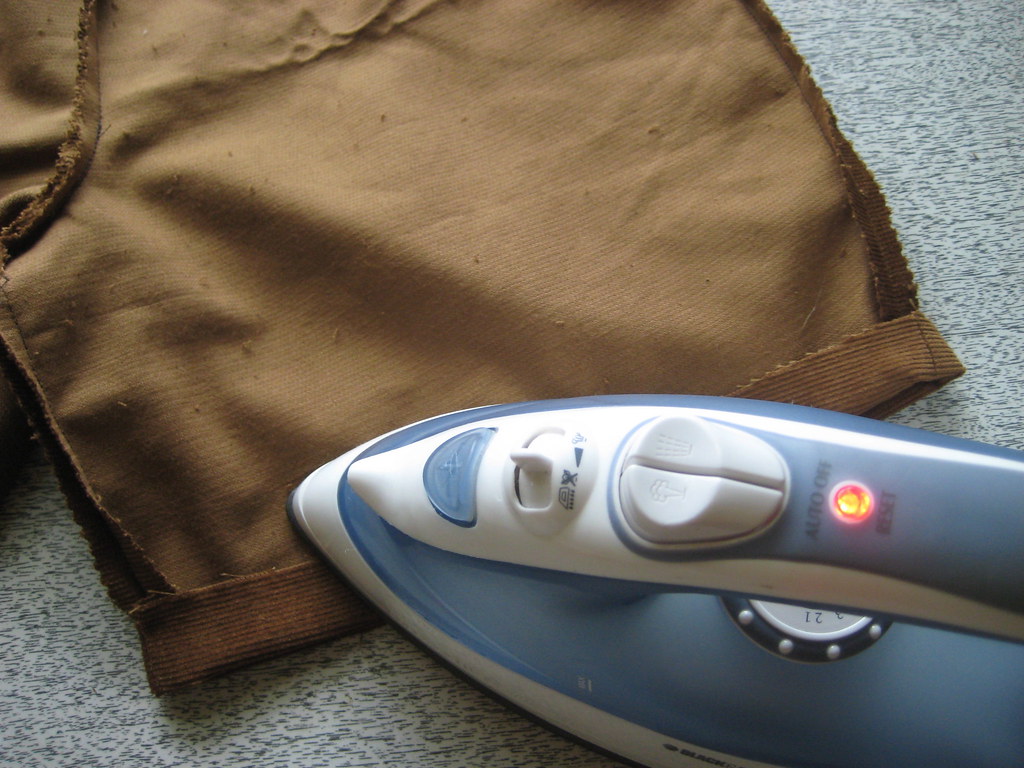
Once the shorts were put together, I sewed the zipper into the back at the waistline. I then pressed one inch of the leg ends upward to the inside, then folded them up another inch to form a casing for elastic. I sewed the shorts at the top and bottom of the casing, leaving an opening for the elastic to go through. I cut two strips of 5/8 inch elastic, measuring them so they'd fit my thighs comfortably. Then, I slipped the elastic in using my new favorite safety pin method.
IMG_0219
IMG_0240
IMG_0242
IMG_0274
IMG_0270

Once the elastic had been sewn in and the casing finished, I moved onto the waistband. When making these overalls, I made a big mistake.. I found out that I didn't have quite enough fabric for the entire project. I had to make do by squishing some of the pattern pieces together, which resulted in a mismatched nap waistband. Also, I had to sew two pieces of corduroy together to make the waist band. My friend Lauren warned me about keeping the pattern pieces pinned the way the instructions tell you to, even if placing them another way will save you fabric. Well, I learned my lesson. The waistband doesn't look terrible, but it could have looked better if I had just bought some extra corduroy to make it properly.

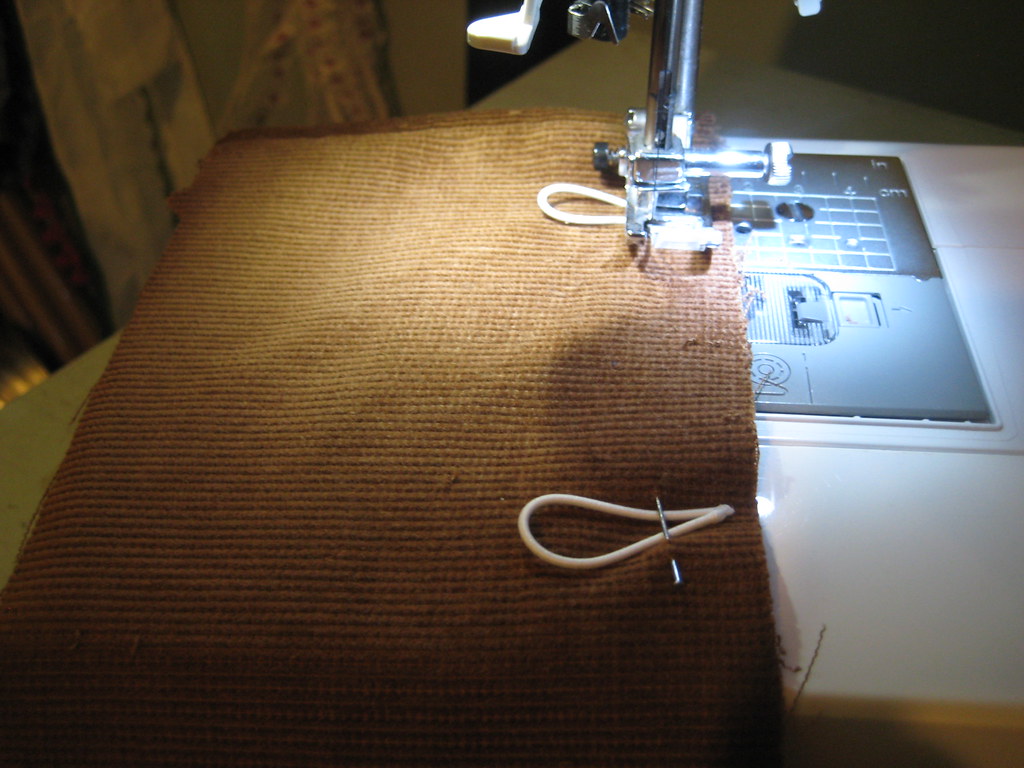
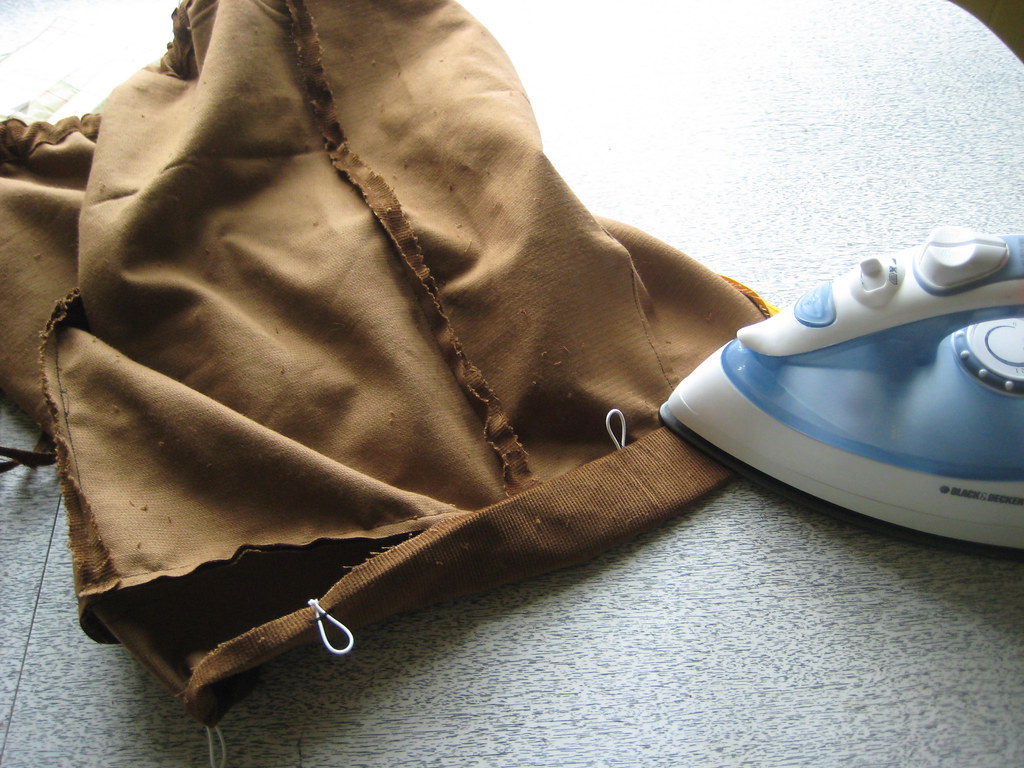
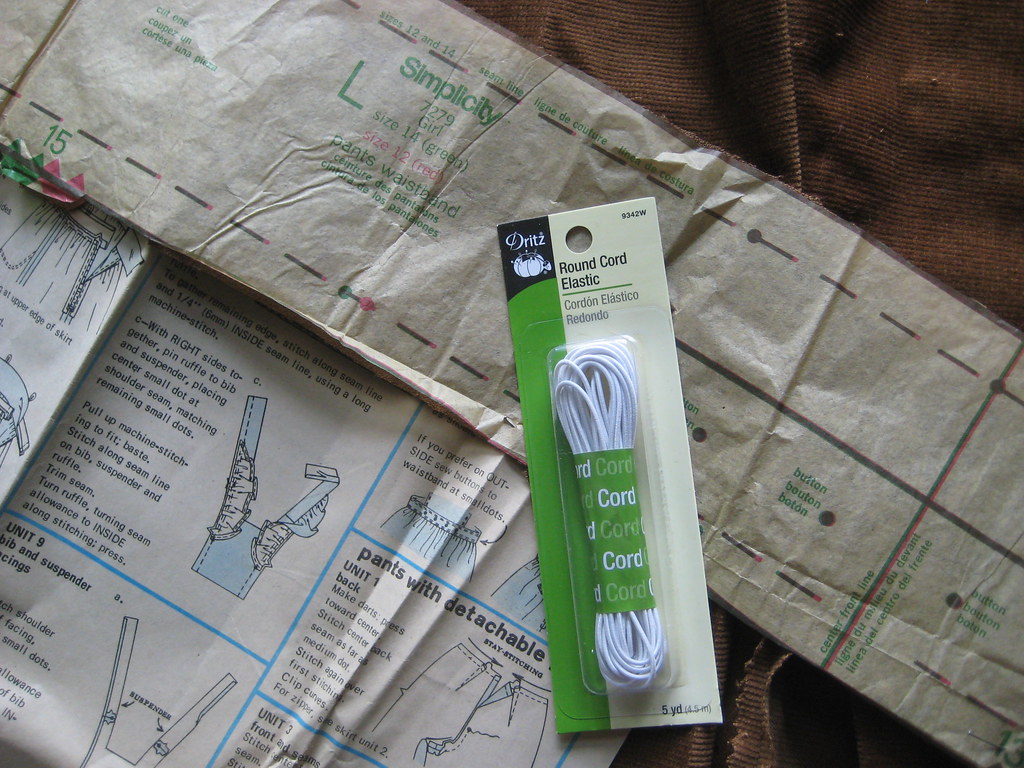
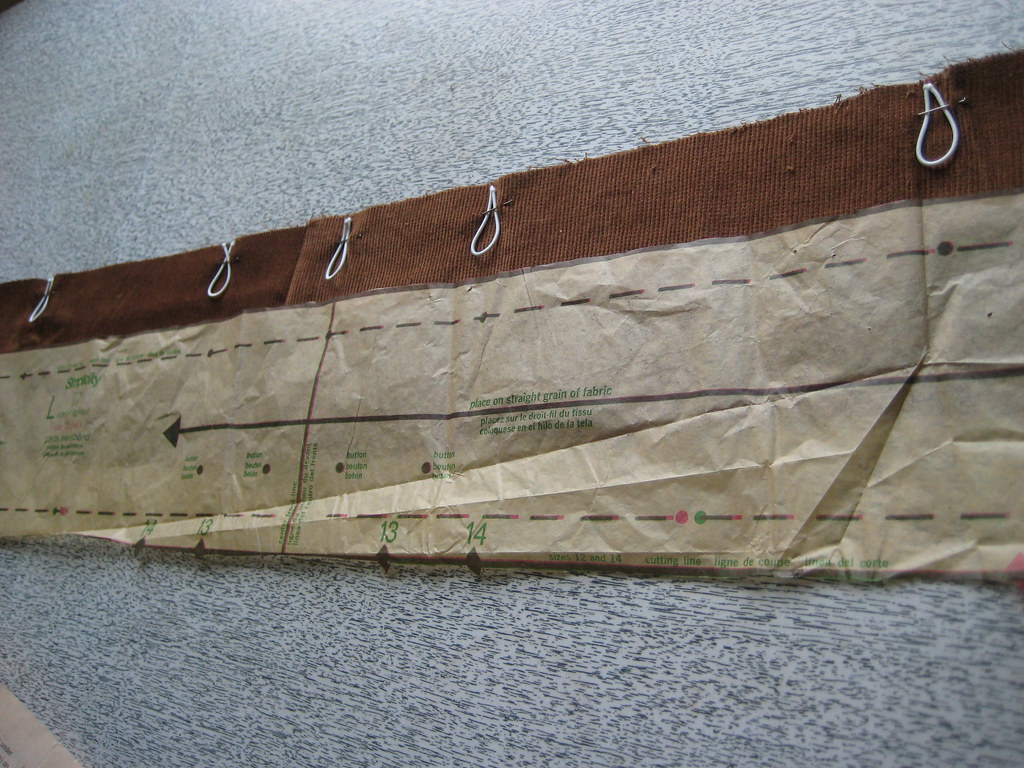
That being said, once the waistband had been constructed, I sewed thin elastic cord to the front of the waistband. They were pieces about two and a half inches long, intended to make 5/8 inch loops. I pinned them to their proper places on the band and then sewed them on, being careful to remove the pins before sewing.

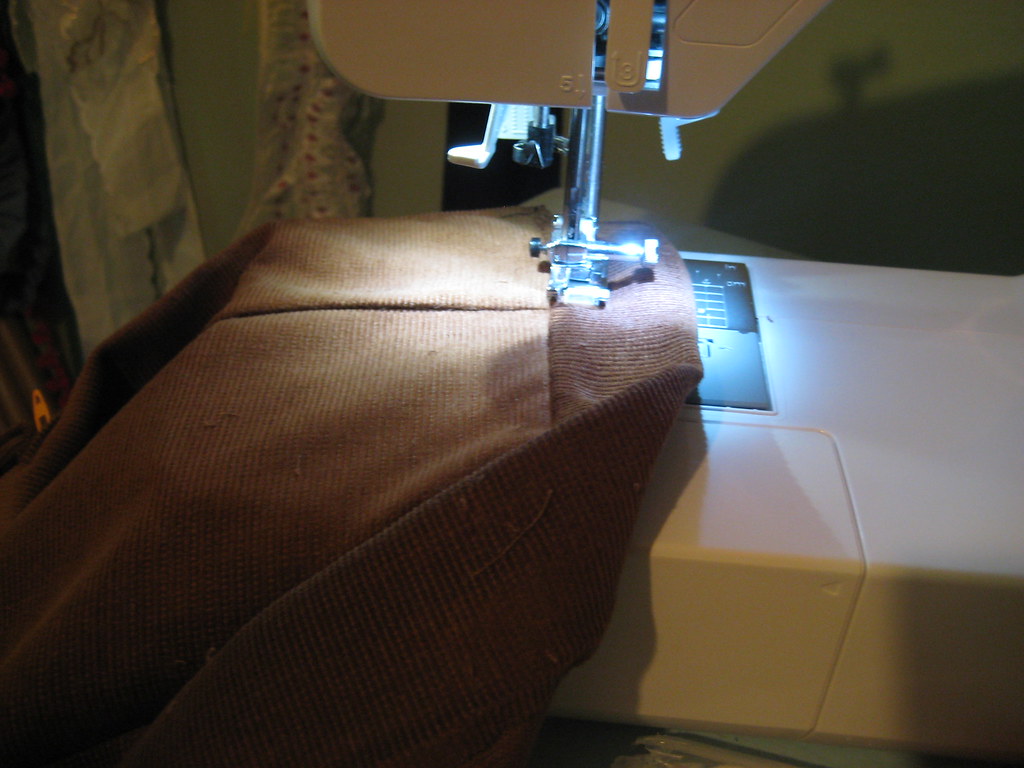
I folded the top of the waistband over by 5/8 inch, pressed it, trimmed it, sewed it to the top of the shorts, then folded the band in half and pressed it again. Then, I sewed the band, folded hot dog style, over itself, sewing near the original seam at the waist of the shorts.
IMG_9785
IMG_0255
IMG_0285
IMG_0300
IMG_0302

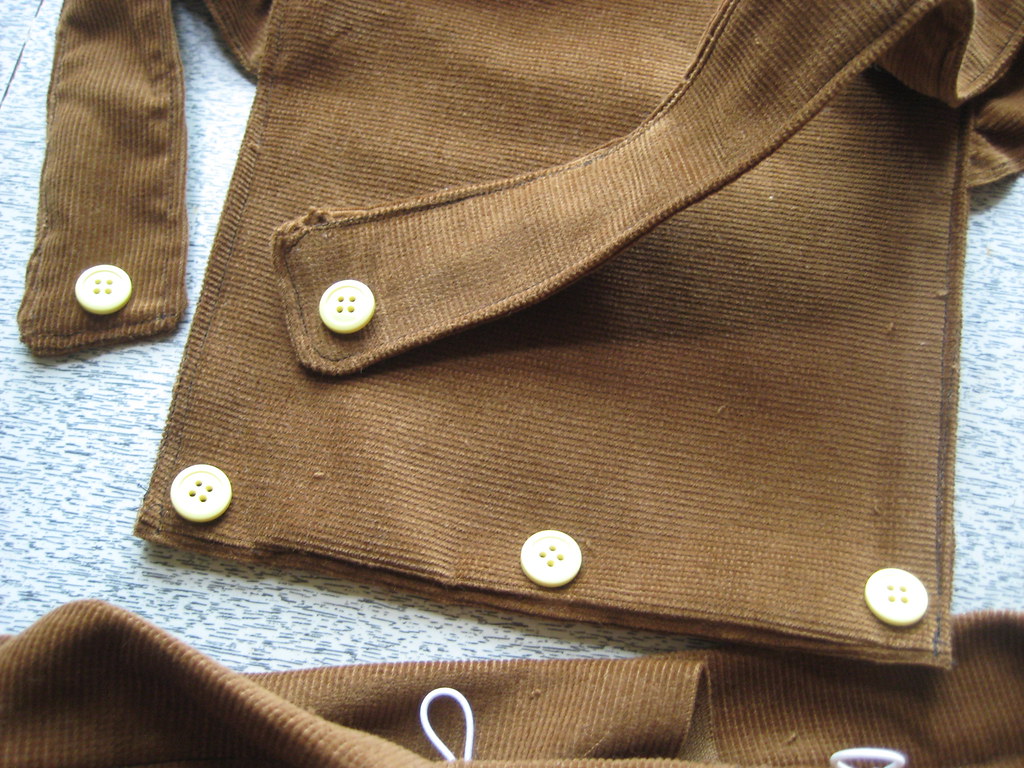
I had some overlap in the back, which was intentional. I sewed a hook and eye enclosure to the overlap above the zipper. Then, I sewed buttons onto the suspenders and bottom of the ruffle bib.
IMG_0315

That's all! And here is the corduroy onesie.
sewing saturday. handmade corduroy overalls with ruffles and bloomer shorts

The waist doesn't actually fit me. It's a bit too boxy, so I'm going to slip elastic into the waistband and hopefully that'll solve the problem.

It feels good to have these overalls finished, maybe because with all of this recent busyness, it felt like I'd never have time to get them done. Now that they are finished, I can move onto my next project.. which is all lined up. I'll be making this dress out of a very special fabric. More soon!

One day left to enter my sewing giveaway!

Monday, May 31, 2010

sewing saturday! 1940's era chambray bloomers

handmade chambray bloomers!

Today, I get to introduce to you one of the sewing projects I have been most excited about. I told you recently that I've made a lot of Etsy orders in the past week for vintage patterns and fabric.. well, this pattern is my favorite out of the five or so that I've found (I'll debut my favorite fabric purchase later on!). It's a gym set pattern from the 1940's, found via Firefly Vintage - a fitted blouse and these incredible bloomers.

1940's era bloomers pattern

The project took longer than I originally thought (the reason for Sewing Saturday being posted on Sunday night!). I was expecting something quicker and easier, like the simple shorts I made into bloomers last week, but there were a few extra steps to this one that made me continue the project into today.

First, I had to choose a good fabric to work with. I narrowed it down to gingham, corduroy, velvet, or chambray, before choosing chambray (an old curtain I found at Goodwill). I then laid out the pattern pieces, cut them, then marked them.

IMG_8013
IMG_8055
IMG_8075
IMG_8104

These pattern pieces were unlike any I've worked with before. They had holes for markings, but they were clear of writing or seam lines. Is it a pattern age related difference? The pattern told me that they allowed 1/2 inch for seam allowances, so I marked those and added a 1/2 inch marking at the hem of the shorts and a 1 inch marking on top of that to allow for my casing.

Once everything was marked, I sewed the shorts front sides together, back sides together, then front and back together at side seams (up until a designated point, where the bloomers would later button up). I then sewed the legs together.

IMG_8167
IMG_8200

These bloomers asked for button-up sides and a waistband. I sewed the button and buttonhole flaps at the sides inward, folding them under by a 1/4 inch to finish the edges before sewing. I then sewed the waistbands shut at the side, flipped them around, then prepared the top of the shorts for them by doing a couple quick stitches at the pleats to keep them flattened (two in the front, two in the back). I pressed the raw edges of the waistband inward by 1/4 inch. I marked 1/2 inch at the top of the shorts to know how far to slip the waistband over the shorts, then I sewed them together!

IMG_8238
IMG_8258
IMG_8267
IMG_8280

Once the front and back waistbands were finished, I only had the buttons, buttonholes, and casing to contend with. I sewed the casing at the hem of the legs quickly by pressing them first. Then, I slipped elastic through (thanks to Jumping Bean Girl for the suggestion of attaching a safety pin to the elastic! that's my new favorite method).

IMG_8287

Once the casing was finished, I sewed buttonholes onto the front sides (thank the Lord for a machine that has a buttonhole function, man alive) and clear buttons onto the back sides. The pattern called for three small buttons on each side, but I used two large ones instead. These clear plastic buttons were a flea market find from last weekend, and I love them.

IMG_8315
IMG_8317

Then, I pressed the shorts.. and here is the end result!

handmade chambray bloomers!

I am definitely planning on using the pattern again and again, and the next time will be with a stiffer fabric so there is more volume to them. There's a pattern I own of a ruffled overall bib with suspenders that attaches to shorts, and I may make the overall bib to go with these bloomers instead. In brown corduroy? That might be my next move. I'd wear them all summer long.

I would LOVE outfit suggestions for these bloomers. What do you think?

On a less related note, I'm feeling much healthier today. This cold really slowed me down this week, so I've been lagging on a lot of responsibilities lately. Now that I feel better, I'll be able to update the Etsy shop tomorrow with some pretty stuff.. lots of lace, including the eyelet trimmed dress I wore to the Karen Elson show (sadly too big for me! it will suit a tall girl much better), a frilly lace onesie, and pretty lace bloomers I found at the flea market. Update post tomorrow night!

Monday, May 24, 2010

a handmade outfit and crafty flea market finds

a handmade outfit
a handmade outfit
a handmade outfit

White Blouse, Liberty Print Shorts - Handmade!
Black Wood Wedge Heels - Crafty Crow Vintage

Here are my last two projects together! A spring outfit. I had a tough choice between tights or no tights, and truth be told, it was super hot today so black tights were foolish. But I really like the overall look.

a handmade outfit
a handmade outfit

I also lucked out and had a chance to go to the flea market with my friend Colleen today. She was on the lookout for furniture for her new apartment, and I searched for vintage picture frames. While I didn't end up with any frames, I did find all sorts of crafting supplies like mint green lace, red pom pom trim (any good ideas for it?), clear plastic buttons, and lots of great old patterns. I also bought vintage lace bloomers (strange, after my recent bloomer obsession, to actually finally find some) and a pretty 1970's white dress with eyelet trim and pink ribbon. Oh, I love my finds.

flea market finds
flea market finds

I also drank coffee and ate an awesome hot dog.

Shop update tomorrow.. starting the week off right. And for all you giveaway lovers, Vanessa is hosting a lovely one right now!

Sunday, May 23, 2010

sewing saturday! liberty print bloomers

Bloomers via anthropologie.

So, it was a last minute decision that I add elastic to the bottom of the pant legs instead of scallops. I've been obsessed with bloomers for over a month now, so I finally broke down and tried a simple shorts pattern with an elastic waist and added some minor bloomer-related alterations. Here's the process!

IMG_6928

First, I did the usual pressing, pinning, cutting, and marking. Wow, how awesomely easy these shorts were.. two pattern pieces, four cut pieces in all.

IMG_6882
IMG_6898
IMG_6919

Then, I sewed the two front pieces together and the two back pieces together, following the seam allowance lines and matching markings. I then sewed the front and back pieces together at the sides. Sewing the leg pieces together front to back was the last step.

IMG_6954
IMG_6968
IMG_6986

Once the shorts were sewed together, I clipped and pressed seams inside.

IMG_7011
IMG_7014

I then had to make room for elastic casing. There were marks to let me know how far to fold at the waistline.. 1/4 inch pressed under, then about 5/8 inch from there, just like I've done before on the romper and white top. I simply repeated the casing process on the leg openings and left a spot open to slip the elastic in.

IMG_7034
IMG_7150

Once I sewed two lines for the casing on each opening, I put the elastic in (I used 1/4 inch elastic) and sewed it together. I then finished the empty spots in the casing.. that's all!

sewing saturday.. handmade liberty print bloomers

Sometimes when I'm lazy and using elastic, I cut holes on the inside of the casing to pull the elastic through and speed up the process. A new way, I found, is the same level of fastness but much neater. I leave more than one opening on one of the casing lines and pull the elastic through. It's cleaner because once the elastic is inside the casing and sewn into a circle, you can simply close up a few openings in the casing rather than just the first one you used to slip the elastic in. Much cleaner than holes on the inside of the shorts.

After trying them on, I found they didn't work exactly how they should have.. not enough fabric in the hip area. Bloomers are supposed to be pretty roomy. But I actually still do like the way they turned out. Since it wasn't like I had imagined, it compelled me to buy a proper bloomers pattern. The pattern I found is from the 1940's and kind of magical, so I can't wait to receive it in the mail and share it with you guys!

I've got to own up. I know some people will just look at bloomers as sleepwear, and yeah - I did find all of those lovely Anthropologie examples above in the nightwear section. But, hey! I bet we can wear bloomers out if they're done properly. Urban Outfitters even lists some pretty ones that look surprisingly easy to wear on a summer afternoon.

And I'll be debuting mine (along with the white top I made last week) tomorrow!