Sewing Saturday! It's time again for regular sewing updates every weekend.. and man alive, finally. This past week mostly served as a break from sewing, but I honestly missed it. Funny how you create habits and addictions where you least expect them.
This week, I started working on a floral jumper for my good friend back in Illinois.. she recently had a baby, a little girl named Jocelyn, and I thought sewing a floral dress for her would be a good way to welcome her into the world.
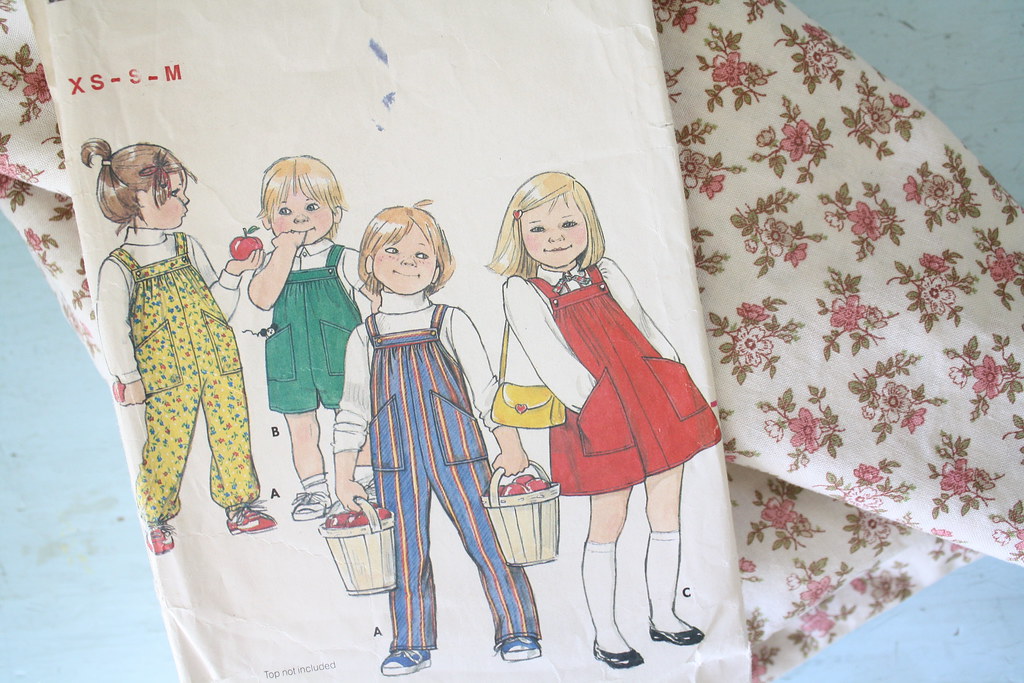
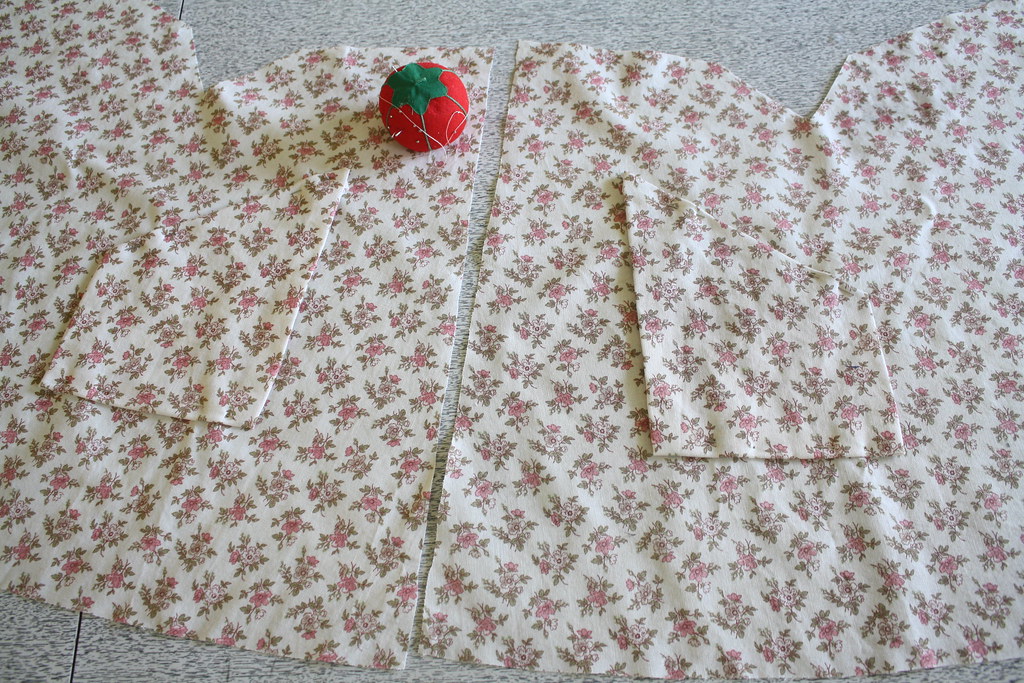
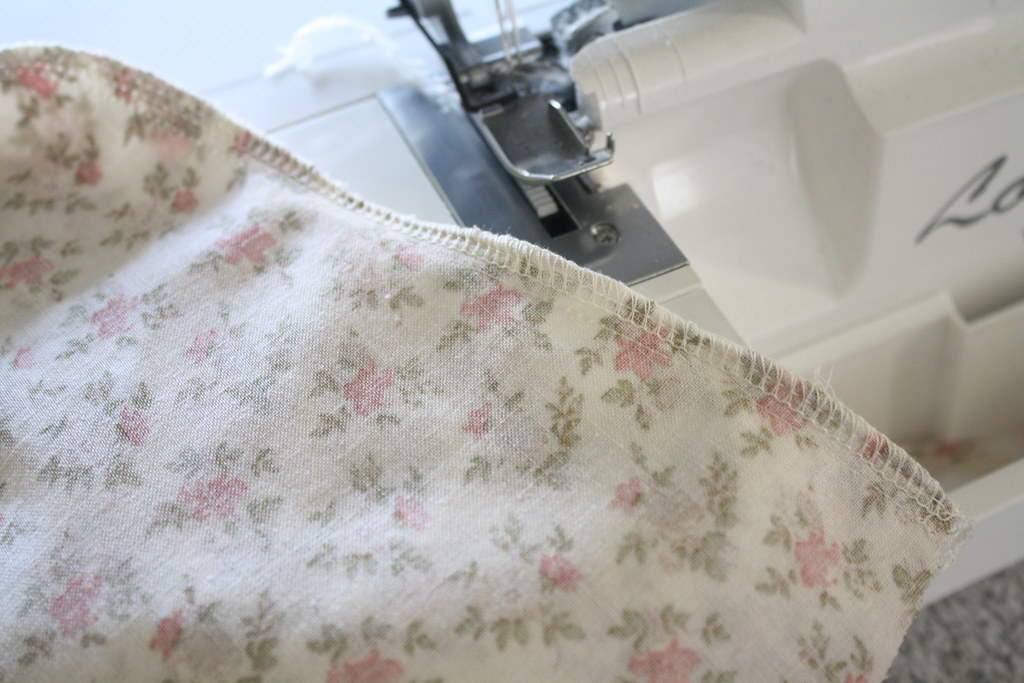
The sewing pattern I'm using comes from the 1970s and offers four size options (I went with extra small - Jocelyn's just a couple of months old). What you need for this project.. about 3/4 of a yard of fabric, a small amount of matching double fold bias tape and fusible interfacing - interfacing for the collar and bias tape for arm hole reinforcing, and two 3/4 inch buttons. Using a serger is completely optional. Don't forget, you can always use pinking shears or a zigzag stitch in place of a serger.
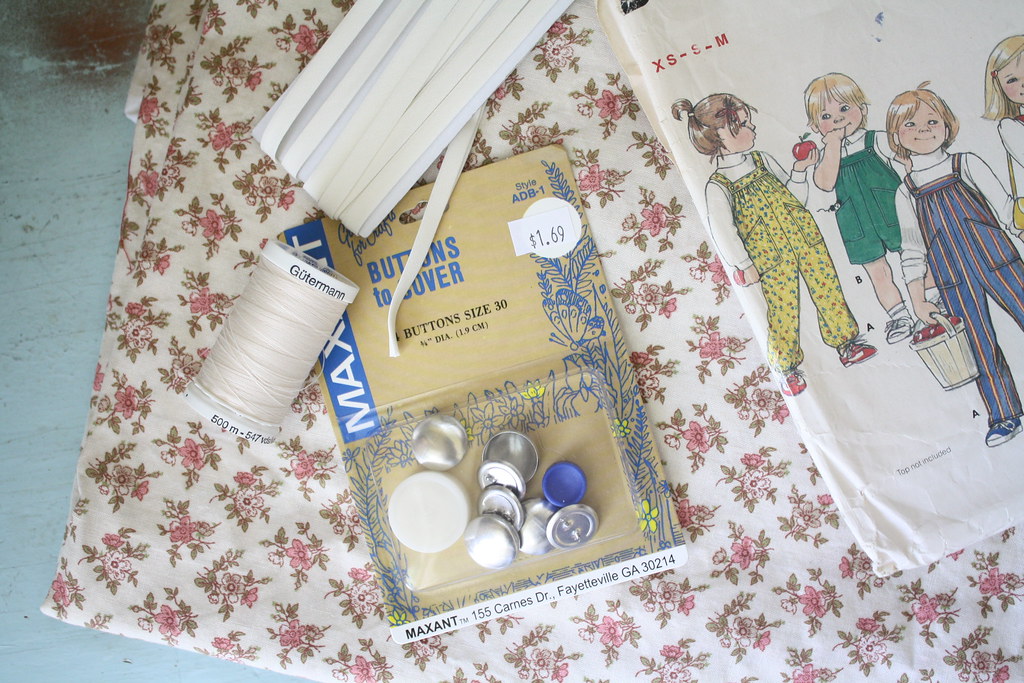
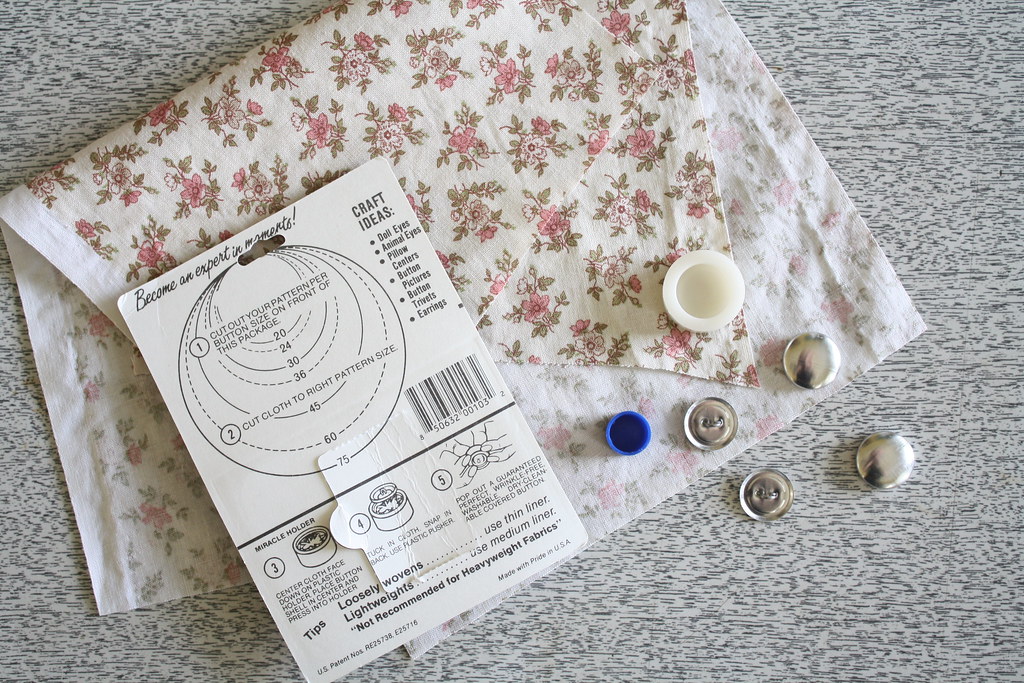
I recently bought a fabric covered button kit from a craft store in town, so I decided to use it for the jumper.. more below!
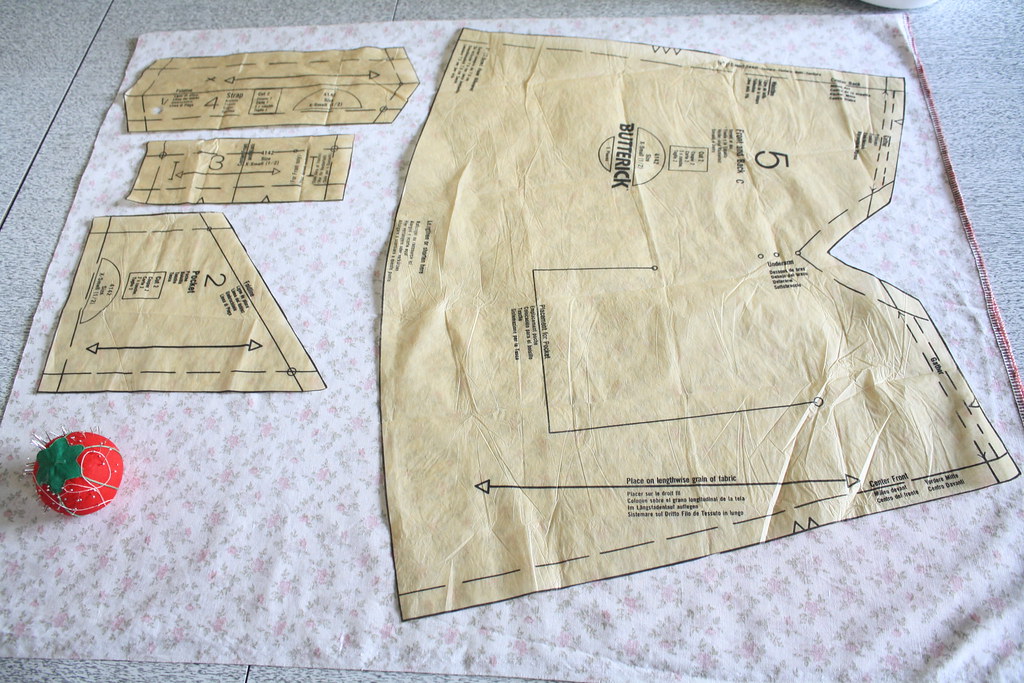
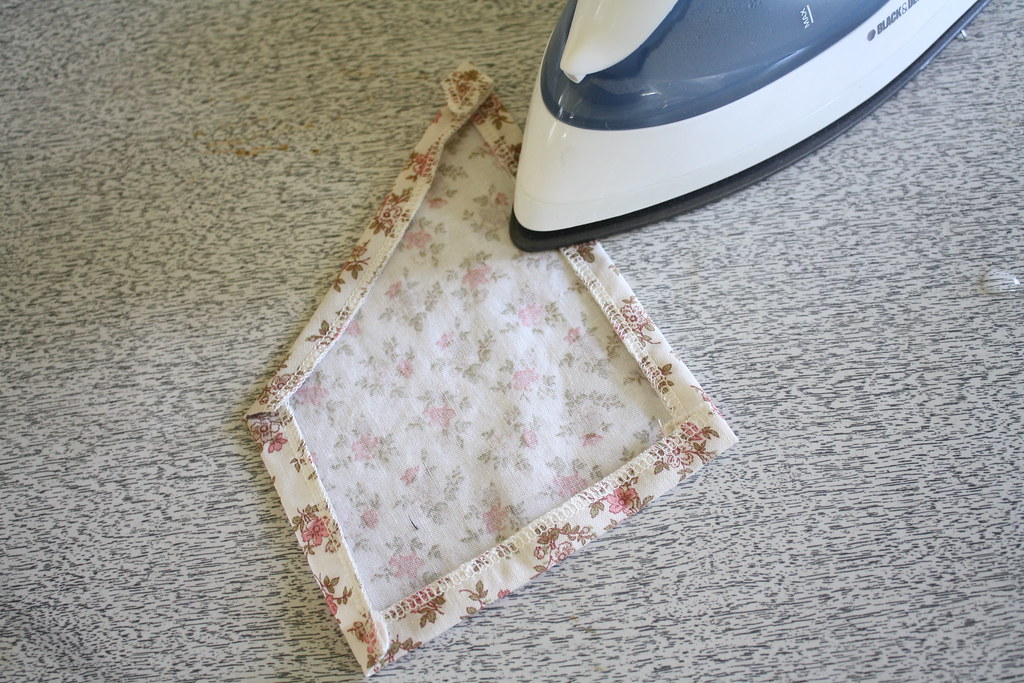
To begin, I ironed out the fabric and pattern pieces, laid them out, pinned, and cut. I then serged the ends of the pockets and pressed them inwards by their seam allowance (5/8 inch). I pinned them to their designated spots on the front ends of the jumper and sewed them in place, keeping the tops open. I followed this by sewing the two jumper pieces together at the front center seam, then reinforcing the stitch using a serger.

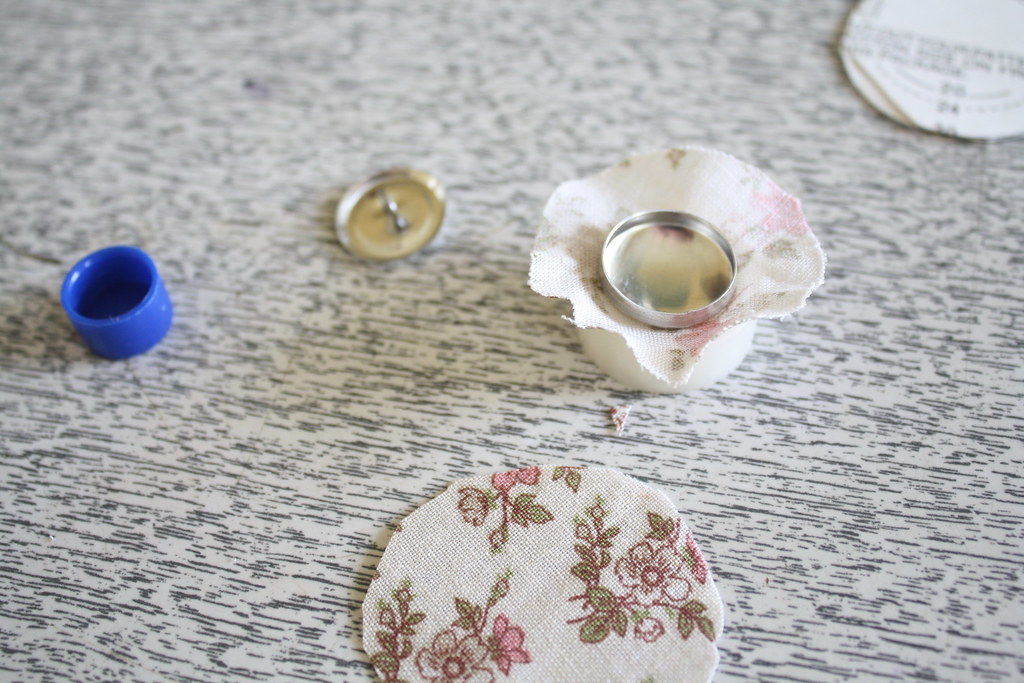
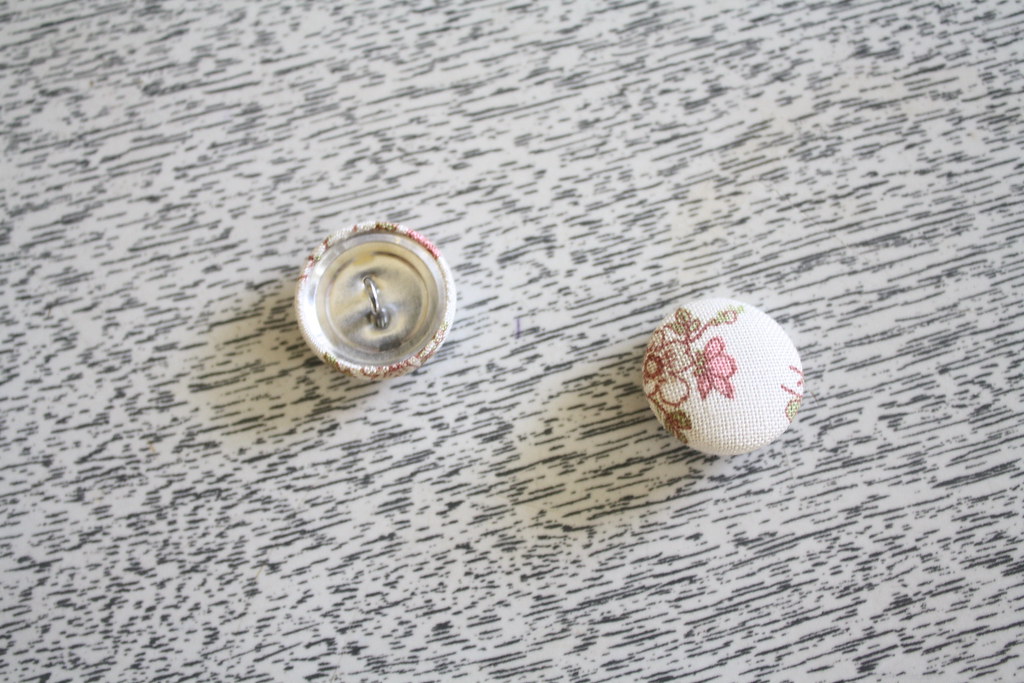
Once I had made progress with the jumper, I decided to cover the buttons with fabric. The two buttons will be used at the collar to attach the straps to the front of the jumper. I followed the instructions on the back of button package.. super simple! The entire process took just a couple of minutes, if that.
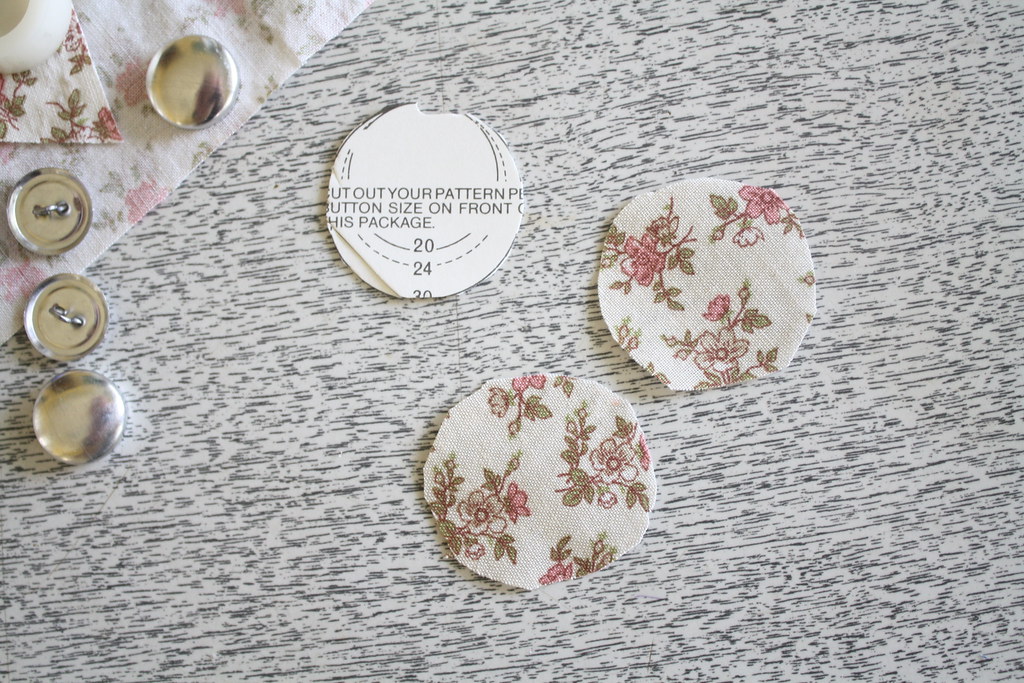
First, I cut out the circle guide that matched the button measurement (30). I then used the circle as a tracing wheel, cutting two matching circles of fabric. I pressed the fabric circle face down into the white rubber cap, layering the face of the button on top of it. I pressed them into the cap. Once the fabric was in, I gathered it into the back of the button face and put the back of the button on top, hook facing upwards. I made sure the fabric was tucked away into the button, then I used the small blue cap to press the button back to the button front. The button pieces clicked into place, I snapped the button out of the rubber cap, and done! I'll definitely be buying more button kits.. they're inexpensive and adorable.
That's all for this week! I've got to finish the jumper soon because Neil and I are taking a trip to Illinois on Thursday, where we'll be meeting little Jocelyn for the first time! We'll be visiting friends and family and I can't wait.
Shop update in the morning!

0 Comments:
Post a Comment